
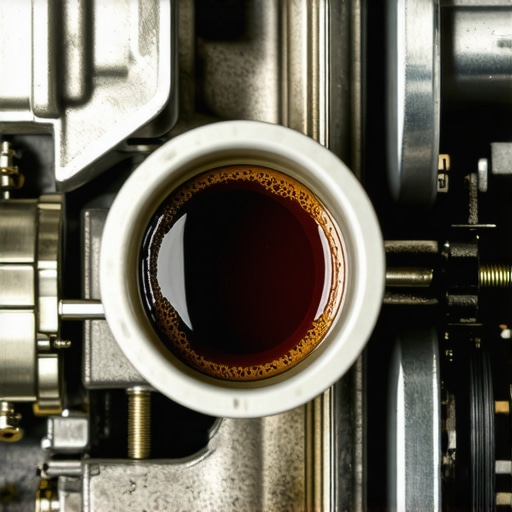
I remember the first time I saw my brake fluid turn a rich, dark brown—almost like a cup of brewed coffee. At first, I thought I must have spilled my morning brew onto the engine bay! But nope, it was my brake fluid, telling me something was seriously wrong. That lightbulb moment made me realize how crucial it is to pay attention to the color and condition of this vital fluid. Because if you ignore it, you’re playing a dangerous game, risking your safety and costly repairs.
Don’t Let Dark Brake Fluid Catch You Off Guard
Dark, grimy brake fluid isn’t just an eyesore; it’s a warning sign of internal contamination, moisture buildup, or aging components. Over time, brake fluid absorbs moisture from the air, which can lead to corrosion inside the brake system—causing parts to wear out faster or even fail unexpectedly. Regularly inspecting your brake fluid can save you from sudden brake failure and hefty bills.
Is Changing Your Brake Fluid Really Necessary?
I remember my early mistake was neglecting this simple maintenance step because I thought it was unnecessary. Turns out, many auto experts recommend changing brake fluid every couple of years to maintain optimal brake performance. Skipping this step might seem minor, but it can significantly affect your safety. Want to learn how to tell when it’s time for a change? Keep reading, and I’ll walk you through the signs to watch for and how to do a quick check yourself. For more detailed guidelines, check out [Brake Service Myths](https://glassfixauto.com/brake-service-myths-what-you-need-to-know-before-your-next-stop). Let’s ensure your brakes are working as hard as you do!
Gather Your Tools and Prepare the Workspace
Ensure you have the correct type of brake fluid for your vehicle, a clear plastic hose, a catch container, and a wrench matching your brake bleeder valves. Park your car on a level surface, engage the parking brake, and open the hood to access the brake master cylinder. Clean the area around the reservoir to prevent contamination when opening it. Wearing gloves and safety glasses is recommended to protect against brake fluid, which is corrosive. Remember, safety first—if you’re unsure, consulting a professional is the best course of action.
Drain Old Brake Fluid from the Reservoir
Locate the brake master cylinder, usually on the driver’s side near the firewall. Use a turkey baster or a fluid suction device to remove as much old brake fluid as possible without introducing air into the system. Fill the reservoir with fresh brake fluid to the recommended level, so the system is ready for bleeding. This initial step helps reduce the volume of contaminated fluid and makes the subsequent process more efficient.
Bleed Each Brake Line Methodically
Starting with the wheel farthest from the master cylinder—typically the passenger rear—loosen the bleed screw slightly. Have an assistant press the brake pedal slowly and firmly to push out old fluid. Once pressure is applied, close the bleed screw before the pedal is released to prevent air from re-entering. Repeat this process until clear, new brake fluid flows through the hose. Move systematically to the other wheels—driver rear, passenger front, and driver front—ensuring all lines are thoroughly flushed. This step eliminates moisture and debris, significantly improving braking performance.
Watch for Signs of Proper Bleeding
The brake pedal should feel firm and responsive, with no sponginess or softness. If you notice any irregularities, bleed the system again, checking for air bubbles escaping with the old fluid. It often helps to have a helper who can monitor the fluid flow and pedal feel. Pro tip: Maintaining a slight pressure on the master cylinder during bleeding can prevent it from running dry, avoiding the need for re-bleeding later.
Top Off and Test Your Brakes
Once all lines have been flushed, top off the master cylinder reservoir with fresh brake fluid, ensuring it stays within the recommended limits. Carefully clean any spilled fluid from around the reservoir and bleed screws to prevent damage or contamination. Before driving, pump the brake pedal a few times to ensure it feels firm and consistent. Test the brakes at low speed in a safe area, confirming that they respond reliably. Think of it as tuning your car’s engine—precision and caution here pay off in safe, reliable stopping power.
Why Regular Flushing Matters for Your Brake System
Regular brake fluid replacement, recommended every 2-3 years, prevents moisture buildup that can lead to corrosion and brake failure. For a comprehensive checklist on maintaining your vehicle efficiently, see our car service checklist. Keeping your brakes in top condition is like changing the oil—an essential step that safeguards your safety and extends the lifespan of your braking components.
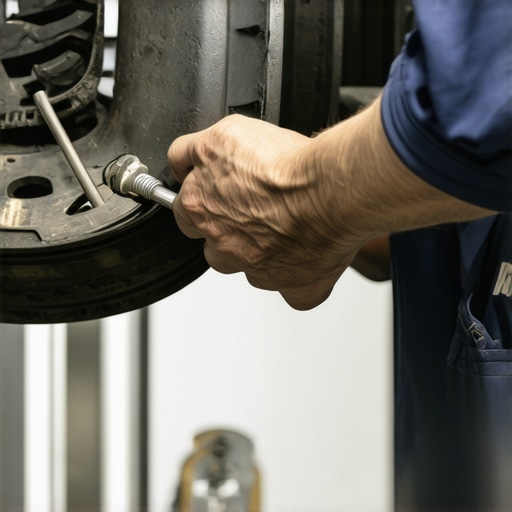 Many car owners assume that brake service is a straightforward upkeep task, but in reality, there’s a lot more beneath the surface. A widespread misconception is that adding brake fluid whenever the pedal feels soft is enough; however, this overlooks the importance of understanding the types of fluid and their compatibility, as different fluids have unique properties that impact system performance. For instance, mixing DOT 3 and DOT 4 brake fluids can lead to diminished lubricity and increased corrosion risks, a nuance often missed by DIY enthusiasts. According to experts at auto repair specialists, understanding these subtle differences can prevent costly damage, highlighting how critical this knowledge is for proper maintenance.Maintaining your vehicle’s performance isn’t just about the basics anymore; it’s about investing in the right tools, adopting proven methods, and understanding where the industry is heading. As automotive technology evolves rapidly, so do the tools available to both mechanics and dedicated enthusiasts. I’m a firm believer in using diagnostic scanners like the Autel MaxiCOM MK808 because it provides comprehensive data retrieval, read/write capabilities, and advanced coding functions that many generic scanners lack. Having this device in my toolbox has saved me countless trips to the mechanic and empowered me to identify issues early, especially when diagnosing sensor-related problems that often trigger subtle warning lights. Additionally, a sturdy vehicle maintenance checklist helps ensure routine checks are not overlooked, extending your car’s lifespan and avoiding costly repairs down the road.
Looking ahead, the trend toward smart automotive diagnostics and AI-driven maintenance predictions suggests that in the near future, cars will communicate directly with service centers, minimizing unexpected breakdowns. Staying ahead means embracing these innovations now and investing in tools like the OBDLink MX+, which offers seamless Bluetooth connectivity and real-time data streaming to your smartphone. I predict that DIYers with access to such technology will be able to manage complex repairs efficiently, blending professional-grade diagnostics into everyday car care.
How do I maintain optimal auto systems over time?
Regularly updating your diagnostic software and calibration tools ensures they remain compatible with new vehicle models. It’s also wise to subscribe to manufacturer-specific firmware updates, which may include critical bug fixes or feature enhancements. A good example is the brake system repair guide that highlights how software calibration can improve braking performance and safety.
For every car owner aiming to maximize their vehicle’s performance and safety, adopting advanced troubleshooting techniques and using state-of-the-art tools transforms maintenance from a chore to a strategic advantage. Don’t hesitate to test out a diagnostic scanner like the Autel MaxiCOM MK808 or the OBDLink MX+ — your car will thank you for it. Remember, staying informed and equipped today prepares you for the road ahead, where automotive technology continues to evolve rapidly.One of the most profound lessons I learned in auto care was listening to the subtle whispers of my vehicle rather than just relying on dashboard warnings. I once ignored a faint squeal during braking, dismissing it as normal wear, only to face costly repairs later. This taught me the importance of paying attention to small changes—because they often signal bigger issues waiting to happen. Additionally, I realized that maintaining a consistent routine, like regular brake fluid checks, isn’t just about prevention but about developing a deeper understanding of how my car communicates with me. Lastly, I discovered that DIY maintenance, when approached with knowledge and care, can be empowering, saving time and money while strengthening your connection with your vehicle.