
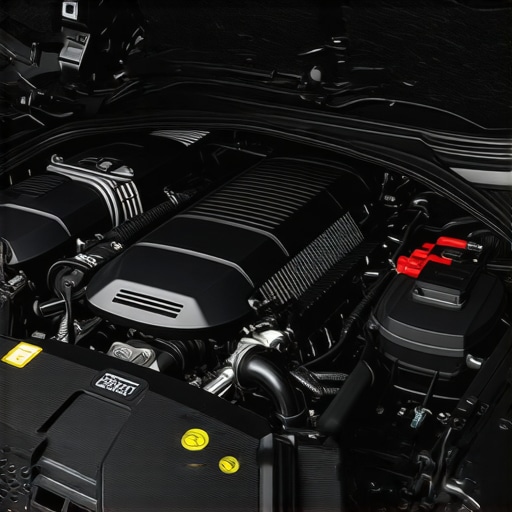
Ever been stopped at a red light and heard that annoying rattling sound echoing from under the hood? It’s almost as if your engine has a musician practicing their worst song. I’ve been there myself—frustrated, wondering if I was about to lose my mind or just my patience.
One day, after countless trips to the shop and a growing headache every time I started my car, I had a lightbulb moment. Turns out, my engine heat shield—a thin metal barrier protecting the engine from heat—had come loose. That seemingly minor issue was turning into a daily annoyance, not to mention potentially dangerous.
That’s when I decided enough was enough. Today, I’m going to share with you a proven approach I used to permanently quiet my noisy heat shield. If you’re tired of the constant clatter every time you hit a bump or stoplight, this post will give you the straightforward steps to fix it once and for all.
Why a Noisy Heat Shield Shouldn’t Be Ignored
The heat shield’s job is critical—it’s designed to protect your vehicle and its components from excessive heat. But when it starts rattling and making noise, it can be more than just a nuisance; it can lead to further damage. As automotive expert GlassFix Auto reports, neglected heat shields can eventually corrode or break, risking heat damage to vital parts like wiring or your exhaust system.
Plus, that incessant noise can be downright distracting, especially during long drives or city commutes. You might find yourself turning up the radio to drown it out—an unhealthy habit, and one that can divert your attention from the road. The good news? Fixing this problem is often simpler and more affordable than you might think.
But here’s a mistake I made early on: I assumed that a loose heat shield was just a cosmetic issue or something to mention at the next service. That was a mistake. Ignoring it can lead to more serious, costly repairs down the line, like exhaust leaks or heat damage to surrounding components.
So, if you’re nodding along, annoyed every time your engine rattles, stay tuned. I’ll walk you through the practical steps to fix your heat shield permanently, saving you both time and money, and restoring peace to your engine bay.
Is This Fix Really worth the Effort?
Absolutely. I get it—auto repairs can seem daunting, especially when you’re not a mechanic. But addressing that pesky heat shield isn’t just about silent engine bays; it’s about maintaining your car’s overall health and safety. Plus, with a little guidance, you might find that this is a DIY project you can tackle on a Saturday morning.
Before diving into the repair, I want to share a common mistake I made early in my journey: rushing into tightening bolts without inspecting the entire shield. A thorough check revealed rusted or broken brackets, which I initially overlooked. Proper diagnosis is crucial, which is why I recommend reviewing troubleshooting tips before you start—think of it as a mini auto checkup at home. For more detailed troubleshooting advice, check out this troubleshooting guide.
Now, with clarity and confidence, let’s explore how to permanently quiet that noisy heat shield and keep it from rattling forever.
Assess the Damage and Gather Your Tools
While lying in your driveway, I once found that my heat shield was hanging loose after a particularly bumpy ride. I first inspected for obvious signs—rusted brackets, broken clips, or loose bolts. Use a flashlight and a mirror if needed. Gather essential tools such as a ratchet set, screwdrivers, pliers, and possibly replacement brackets or clips. Having everything ready saves time and avoids multiple trips to the shop.
Safely Lift the Vehicle and Access the Heat Shield
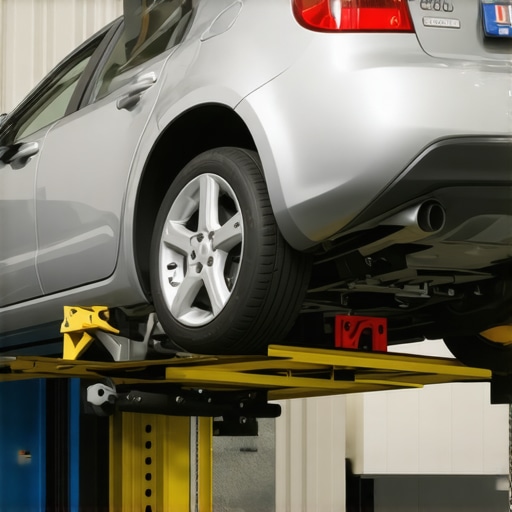
Secure your car on level ground with wheel chocks and jack stands if necessary—never rely solely on a jack. Elevate the front or relevant side to comfortably reach the heat shield. This is like preparing a workbench before a craft project; organization ensures smooth progress. Remember, safety first: wear gloves and eye protection. Once lifted, locate the heat shield and the attachment points, which are often bolts or clips.
Remove the Damaged or Loose Components
Use your ratchet and screwdriver to carefully take out rusted or broken bolts. If brackets are corroded beyond salvage, replace them. For example, I once encountered a bracket so rusted that it crumbled when I touched it—prompting me to visit the auto parts store for a new one. Clean the surrounding area to ensure proper fitment of new parts, much like cleaning a surface before applying wallpaper.
Secure the Heat Shield with New Hardware
Position the heat shield back into place, aligning it with the mounting holes. Insert new brackets or clips if necessary. Tighten bolts hand-tight first, then use the ratchet to secure them firmly—think of tightening your bicycle handlebar securely so it doesn’t wobble. Avoid over-tightening, which can strip threads or cause damage, similar to overtightening a screw in delicate electronics. Double-check that the shield is snug and won’t rattle.
Test the Repair and Follow Up
Lower your vehicle carefully and start the engine. Listen closely for any rattling or vibrations—just like tuning a musical instrument until it sounds perfect. Take a short drive over bumps to confirm the noise is gone. If rattling persists, revisit the attachment points or consider additional support, such as wrapping the shield with heat-resistant insulation to dampen vibrations. Regular inspection can prevent future issues; check your car service checklist for maintenance tips.
Prevent Future Heat Shield Problems
Protect your investment by applying rust-proofing spray on brackets and bolts annually—think of it as sunscreen for metal parts. Monitoring for corrosion and loose attachments keeps your heat shield in top shape, saving you money and preventing noise disturbances. When in doubt, consult experts or consider a professional inspection—that way, you safeguard your engine bay against unseen damage.
Many vehicle owners fall prey to misconceptions that can hinder their approach to car maintenance, often leading to unnecessary expenses or overlooked issues. For instance, a widespread myth is that all warranties are voided if non-professionals perform certain repairs. In reality, as outlined in auto repair trends, DIY repairs can be safe and even beneficial when done correctly, provided you follow proper procedures and documentation.
Another nuanced misconception involves brake servicing. Many presume that replacing brake pads alone restores full braking performance. While necessary, this overlooks the importance of thoroughly inspecting rotors, calipers, and brake fluid, which are critical for safety and longevity. Neglecting this comprehensive approach can lead to uneven wear or brake fade, emphasizing the importance of a full brake system inspection.
Let’s talk about tune-ups. A common trap is timing a tune-up only by mileage, yet, as expert advice suggests, environmental conditions and driving habits significantly influence optimal timing. Overlooking this nuance can result in premature replacements or, worse, engine issues that could have been prevented with a timely tune-up.
Now, here’s the kicker: many assume car service is only about addressing obvious problems. However, as detailed on comprehensive service guides, proactive maintenance—including fluid checks, filter replacements, and system diagnostics—vastly extends your vehicle’s lifespan and ensures safety.
What advanced signs should I watch for that indicate a deeper repair is needed?
Are strange smells, vibrations, or warning lights hiding more serious issues? Recognizing these early symptoms can save you from costly repairs later. For example, persistent vibration could point to wheel imbalance or suspension problems that require expert diagnosis—don’t dismiss subtle signs. To get ahead of potential troubles, consider regular diagnostics that can uncover hidden issues, as explained in troubleshooting tips.
In the end, understanding these nuanced truths about auto repair will empower you to make smarter decisions. It’s tempting to accept common myths, but a knowledgeable approach can save you time, money, and frustration. Have you ever fallen into this trap? Let me know in the comments.
Stay vigilant, stay informed, and your vehicle will thank you for it.
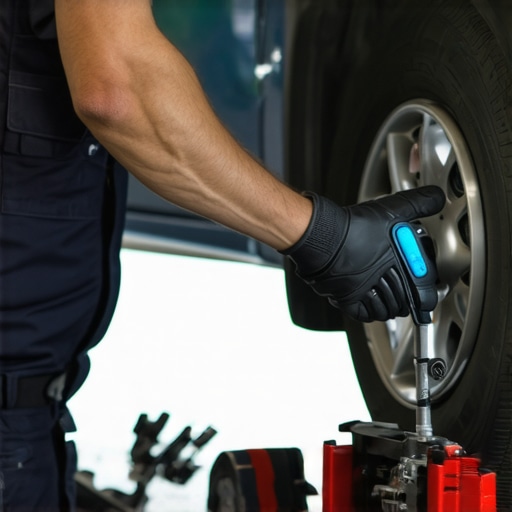
Maintaining your vehicle’s optimal performance requires more than just basic knowledge—it demands the right tools and a strategic approach. Over the years, I’ve curated a set of specific equipment that has translated to real savings and peace of mind. One of the most reliable investments I’ve made is a high-quality digital torque wrench. Unlike standard wrenches, it provides precise torque settings, which is crucial when tightening sensitive components like brake calipers or drain plugs, preventing over-tightening that could lead to damage or leaks. Personally, I prefer models that sync via Bluetooth, allowing me to use my smartphone for real-time torque readings, streamlining my maintenance routine.
Another invaluable tool in my arsenal is a multimeter. Accurate electrical diagnostics are essential, especially when dealing with issues like dead batteries or faulty sensors. I recommend a digital multimeter with auto-ranging capabilities and a high resolution—these features make troubleshooting faster and more accurate. For example, when my car’s warning lights flickered unexpectedly, using a multimeter helped me identify a failing alternator diode without invasive testing, saving me a trip to the shop.
In addition to hardware, software tools have become game-changers. I’ve adopted a mechanic-grade diagnostic scanner that connects to my vehicle via OBD-II port and pairs with an app on my tablet. This setup provides real-time data and error codes, making it easier to identify issues early, especially as cars integrate more complex electronics. Investing in a device like this improves your ability to perform proactive maintenance and understand upcoming repair needs, aligning with future automotive trends discussed in auto repair trends.
Regularly updating your knowledge with diagnostic software updates and tutorials can maximize these tools’ effectiveness. For example, I schedule quarterly reviews of my scanner’s database to ensure compatibility with the latest vehicle models. Keeping your tools calibrated and up-to-date is just as vital as the hardware itself.
If you’re serious about extending your vehicle’s lifespan and avoiding unnecessary repairs, start with a solid foundation—invest in precise torque tools and a reliable diagnostic scanner. Try running a quick self-check using your scanner before your next service appointment or repair, and see how much easier it becomes to spot potential issues early. Remember, staying informed and equipped is the best way to keep your car running smoothly for years to come.
Lessons That Took Me Longer Than They Should Have
- Early on, I believed that a rattling heat shield was just a minor annoyance, but it turned out to be a sign of deeper corrosion that could have led to costly engine damage. Recognizing the subtle signs helped me prevent bigger issues later.
- I used to think DIY repairs would always save money, but rushing without proper diagnosis sometimes made things worse. Now, I emphasize thorough inspection before attempting fixes, which saved me time and additional expenses.
- Investing in quality tools like a digital torque wrench and a good diagnostic scanner changed my approach entirely. These tools gave me confidence and accuracy, turning a dreaded chore into a manageable task.
My Toolbox of Auto Repair Wisdom
- Precision Torque Wrench: Ensures bolts are tightened correctly, preventing over-tightening and damage. I trust models that connect via Bluetooth for ease and accuracy.
- Reliable Multimeter: Critical for diagnosing electrical issues, I prefer units with auto-ranging features—saving me from guesswork.
- OBD-II Diagnostic Scanner: Pairing with my tablet, this scanner reveals hidden error codes and live data, making proactive maintenance achievable at home. Check out this troubleshooting guide for tips on effective diagnostics.
Keep Moving Forward with Confidence
The journey to a quieter engine bay and longer-lasting repairs is ongoing, but now I know that with the right knowledge and tools, you can take control of your vehicle’s health. No matter your experience level, embracing a proactive mindset will ensure you catch issues early and maintain peace of mind on every drive. So, what’s your next project going to be? Whether it’s fixing a rattling heat shield or understanding your car’s warning signs, every step you take builds your confidence and keeps your vehicle running smoothly.