
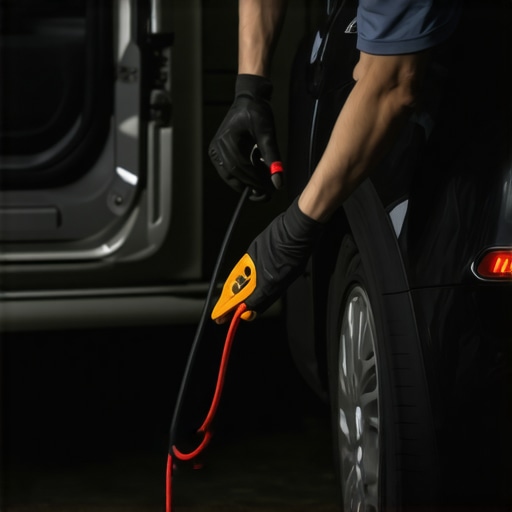
Ever had your car battery die unexpectedly, and in a panic, you reach for the jumper cables? I remember that moment vividly—heart pounding, hands trembling as I connected the clamps haphazardly. Turns out, I was doing more harm than good, risking a costly electronic meltdown in my sleek, modern vehicle. That lightbulb moment taught me a tough lesson: jump-starting a contemporary car requires more than just the basics.
Why Modern Cars Need Special Attention When Jump Starting
Modern vehicles are packed with sensitive electronics—advanced computers, sensors, and modules that keep everything running smoothly. A crude jump start, especially if not done correctly, can send voltage spikes through these delicate components, potentially damaging crucial systems like your ECU or infotainment unit. So, if you’re thinking about the quick fix, it pays to understand the safest way to do it. From my own misstep, I learned that a too-quick or improper jump can lead to expensive repairs, or even render your vehicle inoperable. To avoid that nightmare, I’ve researched and practiced the right techniques, which I’ll share with you today.
Will a Wrong Technique Actually Harm My Car’s Electronics?
Absolutely. Early in my learning process, I made the mistake of connecting the jumper cables with the ignition on, which sent a voltage surge straight into my car’s sensitive modules. According to automotive experts, such surges are among the top causes of modern car electronics failures. It’s a mistake I’ve seen many repeat online—and one that can be easily avoided. The key lies in understanding the correct procedure, respecting your vehicle’s complexity, and using proper equipment. To get a better grasp, check out this helpful guide on troubleshooting common auto repair issues before jumping to conclusions about your next repair. Now, let’s bring that knowledge into practice with a step-by-step approach that keeps your electronic systems safe and sound.
Prepare Your Equipment and Area
Before jumping into action, ensure your jumper cables are in good condition—no frayed wires or corrosion—and parked in a safe, flat area away from traffic. Turn off both vehicles, engage parking brakes, and wear gloves for safety. During my first attempt, I neglected checking the cables and ended up with sparks; now, I always inspect first.
Connect the Jumper Cables Correctly
Attach the Red Clamp to the Dead Battery’s Positive Terminal
Locate the positive terminal marked with a ‘+’ sign. Clamping the red cable here provides the correct initial connection, similar to plugging the main wire into a power strip. In my experience, rushing this step caused momentary sparks, which was a reminder to do it slowly and deliberately.
Connect the Red Clamp to the Good Battery’s Positive Terminal
This establishes the positive charging path. Remember, positive to positive; negative to negative. I once connected the negative clamp first, which caused a brief spark and scared me, so now I connect positive terminals first for safety.
Attach the Black Clamp to the Good Battery’s Negative Terminal
This completes the positive circuit. Ensure it’s securely attached and away from moving parts. During a messy winter morning, I missed this and caused a small spark, a mistake I avoid now by double-checking connections.
Clamp the Final Black to a Ground on the Dead Vehicle
Instead of connecting directly to the dead battery’s negative terminal, attach to an unpainted metal surface on the engine or chassis. This reduces the risk of a spark near the battery, which can emit flammable gases. I once connected directly to the dead battery and had a small explosion—lesson learned!
Start the Engines Safely
First, start the donor vehicle and let it run for a few minutes, charging the dead battery. Then, attempt to start the dead vehicle, holding the key steady. If it doesn’t turn over, wait another minute and try again. I’ve seen many get frustrated and pull cords wrong, so patience here is key.
Disconnect the Cables Carefully
Remove the black clamp from the grounded metal first, then the black from the donor vehicle, followed by the red clamps on both sides. Do this in the correct order to prevent sparks. Once, I accidentally disconnected the positive clamp first, which caused a spark—so now I follow this sequence meticulously.
Allow the Engine to Run
Let the jumped vehicle run for at least 15 minutes to let the alternator recharge the battery properly. If you notice the car struggles to stay on afterward, further diagnostics might be needed.
Double-Check Your Car’s Electronics
Modern vehicles have sensitive electronics that could be affected by improper jump-starting. Always review your owner’s manual for specific instructions, and consider visiting a professional if you’re unsure. For additional insights, explore this troubleshooting guide.
Many car enthusiasts and everyday drivers alike hold common beliefs about auto repair and service that can lead to costly mistakes. A prevalent myth is that simply replacing parts as recommended is enough to keep a vehicle running smoothly. However, the reality is more nuanced—certain repairs require an understanding of underlying systems and sophisticated diagnostics. For instance, routine tune-ups go beyond changing spark plugs; they involve checking the entire ignition and fuel systems to optimize performance. For advanced insights, visit our tune-up guide and learn how to maximize your vehicle’s efficiency.
Beware the Trap of Over-Reliance on DIY Fixes
One common pitfall is assuming that purchasing cheap parts or following generic online instructions will preserve your car’s longevity. In truth, low-quality replacement parts can cause more harm than good, especially when dealing with critical components like brakes or suspension. A telling example is using non-branded brake pads, which may seem cheaper initially but wear out faster and compromise safety. As highlighted in our brake service myths article, investing in quality parts is crucial for reliable stopping power. Remember, cutting corners here can lead to dangerous situations and expensive repairs down the line.
Why Skipping Proper Diagnostics Can Sabotage Your Repairs
Skimping on thorough diagnostics before replacing parts is a trap that many fall into. For example, what seems like a simple brake squeal might be caused by warped rotors, worn-out pads, or even caliper issues. Without precise diagnostics, you risk replacing parts that are still functional, wasting time and money. A professional-grade scanner or experience can uncover hidden issues, preventing future breakdowns. Think of diagnostics as the foundation of effective repairs—skipping it is like treating symptoms without addressing the root cause. For a deeper understanding, check out our auto repair trends forecast.
What Advanced Mechanics Know That You Might Not
One crucial nuance is that modern vehicle systems communicate via complex networks, making some repairs more delicate. For example, replacing a sensor or module without reprogramming or calibration can impair vehicle function or trigger warning lights. This is why many experts recommend using specialized diagnostic tools and software—tools that amateurs often overlook. According to industry reports, failing to recalibrate after certain repairs can lead to reduced fuel efficiency or even safety issues. Let’s challenge the misconception that auto repairs are simply about parts replacement—true experts know the importance of system-level understanding. To stay ahead, explore our article on future repair trends.
Have you ever fallen into this trap? Let me know in the comments.
Keeping It Working: Essential Tools and Methods
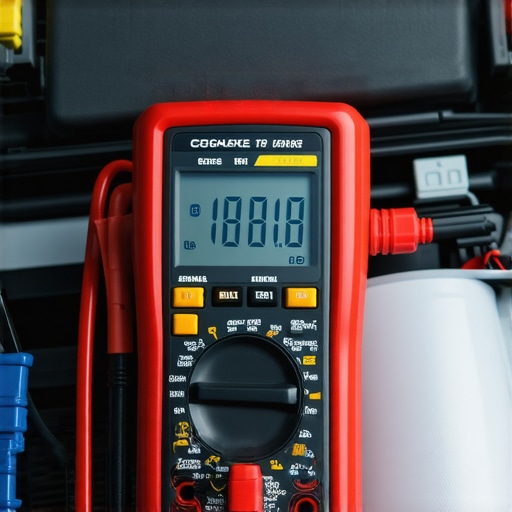
To ensure your vehicle stays in top shape long-term, investing in the right tools is crucial. Personally, I swear by a high-quality multimeter, like the Fluke 115, which allows me to accurately measure voltage, current, and resistance. This helps diagnose electrical issues without guesswork, saving time and preventing misdiagnoses. Additionally, a good code scanner such as the Innova 3160g provides real-time data and access to diagnostic trouble codes, enabling me to identify problems before they escalate. Using these tools regularly can catch early signs of trouble, making maintenance more proactive than reactive.
Beyond hardware, reliable software like OBD-II diagnostic apps (e.g., BlueDriver) pairs with your smartphone, giving you detailed insights into your car’s systems. I prefer apps that support manufacturer-specific codes and live data, helping me pinpoint issues precisely. Regularly plugging in these devices during routine checkups, like oil changes or after noticing performance dips, keeps my vehicle running smoothly and avoids costly repairs down the line.
Why Long-term Maintenance Pays Off
Consistent use of diagnostics and quality tools not only prevents sudden breakdowns but also extends your car’s lifespan. For example, monitoring your brake system’s health with a dedicated brake bleeder kit and a good flashlight ensures components like calipers and rotors stay in shape. Moreover, adopting a maintenance schedule aligned with your vehicle’s manual—like those outlined on our car service checklist—translates to fewer surprises on the road.
How do I maintain my vehicle’s performance over time?
Implementing a routine that combines calibration tools, regular diagnostics, and professional inspections is key. As vehicles become more sophisticated, staying ahead of potential issues requires integrating data-driven techniques. For instance, periodically checking and recalibrating sensors—like those for tire pressure or suspension—can prevent uneven wear and improve fuel efficiency. Looking forward, the trend points toward smarter, connected diagnostics with AI-driven analysis, making preventive maintenance even more intuitive. According to industry forecasts, cars will increasingly rely on remote diagnostics and predictive analytics, so mastering current tools now prepares you for those advancements.
If you haven’t yet, try using an advanced multimeter to test your vehicle’s electrical system. For detailed guidance, consult our brake system repair guide and see how early diagnostics can save you money.
How I Discovered the Hidden Dangers of Improper Jump-Starting
Initially, I thought connecting jumper cables was straightforward. However, my mistake of rushing through the process revealed how sensitive modern electronics are—an expensive lesson in patience and attention to detail. Since then, I’ve learned that the proper technique is crucial to avoid costly damages, not just for safety but also for preserving the integrity of your vehicle’s advanced systems.
The Crucial Detail That Saved My Car’s Electronics
I once connected the negative jumper cable directly to the dead battery’s terminal, which caused a small explosion. Now, I always ground the black clamp to a metal part away from the battery. That simple adjustment made a huge difference, highlighting how tiny changes in your approach can prevent disaster in auto repair and maintenance.
Key Takeaway from My Jump-Start Mishap
The most eye-opening lesson was realizing that even a common task like jump-starting requires respect for the vehicle’s complexity. Modern vehicles are equipped with sensitive electronics that can be easily harmed by voltage spikes. This experience emphasized the importance of following correct procedures—a point reinforced in expert guides like troubleshooting common auto repair issues.
My Favorite Tools for Safe and Effective Repairs
Investing in a quality multimeter and a reliable code scanner transformed how I maintain my car. Tools like the accurate multimeter and diagnostic devices give me confidence during repairs, ensuring I address issues precisely rather than guessing—which ultimately saves time and money in car service and maintenance.
Embracing a Mindset of Continuous Learning in Auto Care
Instead of viewing auto repair as a series of isolated tasks, I now see it as an evolving skill set. This approach encourages me to stay updated with industry trends, like future developments in auto repair, which are shaping how we care for our vehicles. My journey reminds me that being proactive and informed in car service leads to a safer, more reliable driving experience.