
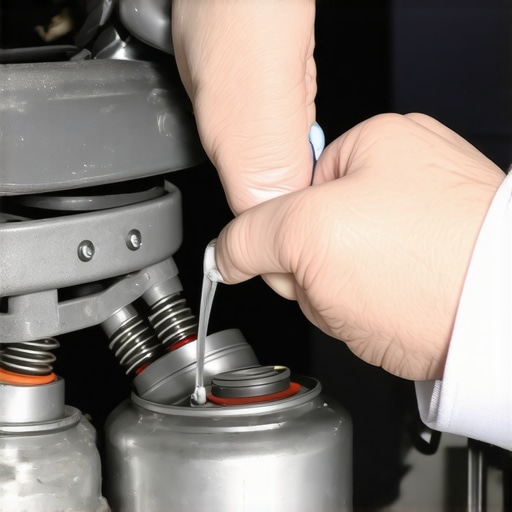
I was thirty minutes into a three-hour road trip when it started. Squeak. Creak. Chirp. Every time I shifted my weight or hit a minor expansion joint on the highway, my driver’s seat sounded like an old rocking chair in a horror movie. By the second hour, I was ready to pull over and walk. It’s funny how a tiny mechanical noise can overshadow a perfectly good engine or a smooth ride. We spend so much time worrying about whether we need a tune-up for peak performance that we forget the small cabin annoyances that actually drain our sanity. If you’ve been searching for the easy fix for a squeaky drivers seat, I promise you aren’t alone. I’m that neighbor who will lean over the fence to tell you you’re using the wrong grease, but only because I’ve already made every mistake in the book for you.
That Constant Chirping is Enough to Make Anyone Snap
[IMAGE_PLACEHOLDER]
It isn’t just about the noise; it’s about the feeling that your car is falling apart, even if it’s mechanically sound. Most people think they have to live with it or pay a dealership hundreds of dollars to replace the entire seat frame. I’m here to tell you that’s rarely the case. Today, I’m going to show you how to hunt down the source of that friction and silence it for good using stuff you probably already have in your garage. Whether you are dealing with a seat issue or just finishing up your car service checklist, getting the interior quiet is a huge win for your driving experience. Have you ever found yourself turning up the radio just to drown out a seat that won’t shut up? I have, and trust me, it doesn’t solve the underlying frustration of knowing something isn’t right.
Is it even possible to fix this without a dealership bill?
I’ll be honest: I used to be the guy who ignored these things until they became unbearable. Early on, I made the classic rookie mistake of dousing my seat tracks in standard WD-40. I thought it was a universal fix-all. Not only did it not stop the squeak, but it also attracted every bit of pet hair and dust in the car, turning my seat rails into a gunk-filled mess. It was as bad as ignoring a brake squeak until the rotors are shot. According to a study by the Society of Automotive Engineers (SAE), interior cabin noise is a primary factor in driver stress and perceived vehicle quality. Structural squeaks are often caused by “stick-slip” friction in localized contact points, not a total failure of the mechanism. If you troubleshoot these common issues before visiting the shop, you can save yourself a massive headache. Most people fear they’ll have to tear the upholstery apart, but it’s usually just two pieces of plastic rubbing or a dry hinge pin. It’s similar to how people panic about a check engine light when they might just need a simple tune-up or a minor repair. If you can handle a screwdriver and a can of specialized lube, you can do this.
Hunting Down the Ghost in Your Seat Frame
To fix a squeak, you have to become a bit of a detective. I remember my old 2004 sedan—every time I took a left turn, it sounded like a dying bird was trapped under my thighs. I spent a week thinking the floorpan was rusting out. I eventually realized it was just a plastic trim piece rubbing against the seat adjustment lever. Just like when you are troubleshooting common auto repair issues before visiting the shop, the first step is always isolation. You can’t just spray lubricant blindly and hope for the best. You need to replicate the sound while you aren’t driving. Park the car, grab the seat back with both hands, and shake it. Lean your weight into the bolster, then the base. If it only squeaks when you move forward or back, the tracks are your culprit. If it happens when you lean back, look at the recline hinges or the internal springs.
Use Your Weight to Pinpoint the Source
Sometimes the noise isn’t coming from the metal at all. I once helped a friend who swore his seat was broken, only to find out his leather upholstery was rubbing against the plastic center console. It sounded exactly like a mechanical failure. Before you go reaching for the heavy tools, try putting a piece of felt or even a thick sock between the seat and the console. If the noise stops, you just saved yourself a trip to the mechanic. This is why a proper car service checklist always includes a thorough visual inspection before any parts are swapped. 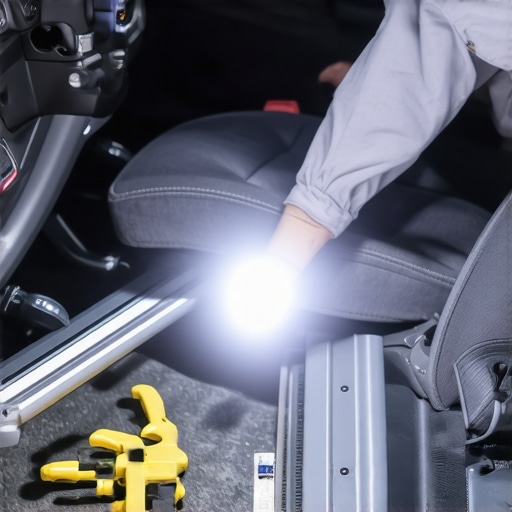
The Three Step Silence Protocol
Once you’ve found the spot, it’s time to get to work. Think of this like a tune-up for peak performance, but for your comfort rather than the engine. First, clean the area. Use a vacuum or a damp cloth to remove any grit, hair, or old, dried-up grease from the seat rails. Applying new lube over old dirt is like putting fresh paint on a mud-covered wall; it won’t last and it will create a grinding paste that wears down your seat components.
Pick the Right Lube or Regret it Later
Next comes the lubrication, and this is where most people fail. Do not use standard WD-40; it’s a degreaser and a solvent, not a long-term lubricant. It will evaporate and leave the metal drier than it was before. Instead, use a high-quality white lithium grease for metal-on-metal contact points or a specialized silicone spray for plastic and rubber. If you’ve ever learned how to fix a sticking power window with a can of silicone spray, you already know how effective it is at reducing friction without making a sticky mess. Apply it sparingly to the pivot points and the tracks, then slide the seat back and forth several times to work the lubricant into the tight spaces.
Tighten the Hidden Bolts
Finally, check the mounting bolts that secure the seat to the floor. Over time, vibrations from the road can cause these to back out just a fraction of a millimeter. That tiny gap allows the seat to shift and groan under your weight. It’s a minor issue that can feel like a major failure, much like how you might wonder how to tell if your car needs a simple tune-up or a major repair when you hear a weird engine rattle. Grab a socket wrench and ensure the four main bolts are torqued down tight. If the squeak persists, check the bolts where the seat belt buckle attaches to the seat frame; this is a notorious hiding spot for annoying chirps.
One of the biggest mistakes I see is the ‘set it and forget it’ mentality when it comes to vehicle maintenance. Most drivers think a ‘tune-up’ is strictly limited to things happening under the hood, like changing spark plugs or checking filters. In my experience, that’s completely wrong. While you’re working to maximize your cars lifespan with expert tune-up strategies, you cannot ignore the interior ergonomics. A squeaking seat isn’t just a minor nuisance; it’s often a symptom of structural friction or failing fasteners. The Car Care Council, an industry authority on vehicle longevity, notes that neglected interior maintenance is a top reason for accelerated vehicle depreciation, as cabin wear suggests a general lack of care to future buyers. If you treat your car like a holistic system rather than just an engine on wheels, you’ll see why the ultimate car service guide emphasizes both mechanical performance and cabin integrity. Have you ever fallen into the trap of thinking a cabin noise is ‘just a quirk’ until it becomes a permanent mechanical failure? Let me know in the comments.
Why does that annoying sound keep coming back even after a cleaning?
The answer usually lies at the microscopic level. If you don’t remove the oxidized layer of metal or plastic debris before applying new lubricant, you’re essentially just trapping abrasive particles under a fresh layer of grease. This creates a grinding paste that will eventually wear down the seat tracks. It is a concept very similar to brake service myths where people think a simple spray-on cleaner fixes everything, but it is actually the precision of surface preparation that matters most. If the noise returns within a week, it’s likely that the ‘stick-slip’ friction has actually pitted the surface of the rails, requiring a light sanding with high-grit paper before you re-apply your white lithium grease. 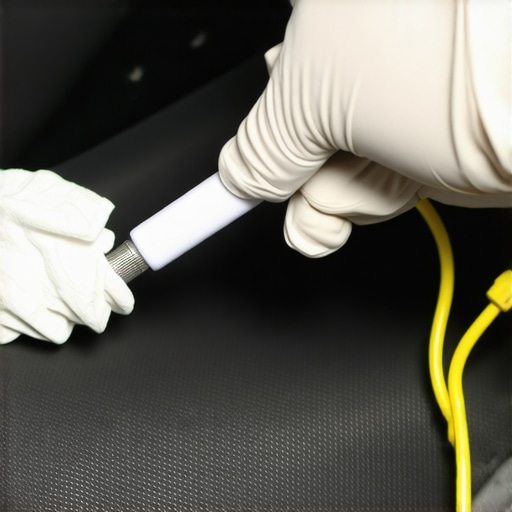
Stop assuming every rattle needs a professional mechanic
I’ve seen people spend hundreds on diagnostics for a sound that ended up being a loose coin in the seat rail. This is why you must isolate the noise before you commit to a shop visit. Many advanced DIYers often miss the most common ‘hidden’ culprit: the seatbelt anchor bolt. Because the anchor is connected to the seat frame, the vibration travels through the metal and makes it sound like it’s coming from your cushion. Much like understanding brake system repairs requires you to differentiate between a rotor pulse and a pad squeal, you have to differentiate between a frame groan and a trim chirp. Lean on the seat from outside the car, then sit in it and shift your weight laterally; if the noise only happens when you are buckled in, you’ve found your ghost.
Avoid the expensive trap of over-lubrication and fouled sensors
Here is the ‘oops’ factor that can cost you thousands in repairs: modern seats are packed with sensitive electronics. We’re talking weight-sensing mats for airbag deployment, heating elements, and complex power-adjust motors. If you start spraying silicone or lithium grease blindly under the seat, you risk fouling an electrical connector or causing a short in the seat-heater harness. This is the same level of caution you’d use when how to tell if your car needs a simple tune-up or a major repair involving engine sensors. Always use a precision nozzle and a clean shop rag to shield any yellow airbag wiring harnesses while you work. One stray drop of oil in the wrong connector can trigger a ‘Service Airbag’ light that only a dealership can reset. Precision, not volume, is the key to a quiet and safe ride.
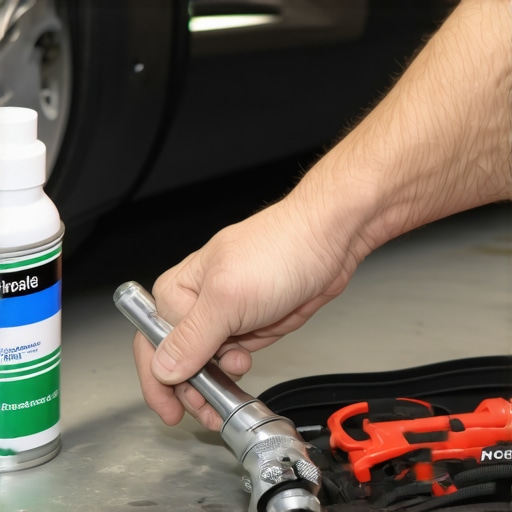
I have a rule in my garage: never start a job without the right chemical at hand. When people ask me why their DIY repairs fail, it usually isn’t a lack of effort; it’s a lack of specific supplies. For interior work, you need a dedicated kit that stays in the trunk. I personally swear by a set of nylon pry tools—not the metal ones that gouge your plastic—and a pressurized can of high-viscosity silicone. If you are serious about wanting to maximize your cars lifespan with expert tune-up strategies, you have to treat the cabin with the same precision you’d use for a head gasket. I’ve seen too many people use WD-40 on seat rails, only to have the noise return twice as loud once the solvent evaporates. It is about using the right tool for the specific friction point.
How do I keep my car interior from rattling over time?
Consistency is the secret sauce. Every six months, when I do my oil change, I perform a ‘shake test’ on the interior components. I go through my car service checklist and add five minutes for tightening seat bolts and sun visor mounts. This prevents the tiny vibrations that eventually lead to permanent rattles. According to the technical data sheets from CRC Industries, high-performance synthetic lubricants are designed to withstand extreme cabin temperature fluctuations from -40°F to over 400°F without breaking down or attracting grit. This level of durability is what separates a professional result from a temporary fix. If you wait until you hear a noise to act, the plastic tabs have likely already begun to fatigue. Proactive tightening is the only way to stay ahead of the curve.
As we look toward auto repair trends to watch in 2025, we are seeing more vehicles equipped with active noise-cancellation sensors inside the seat cushions. This means that a loose bolt won’t just cause a squeak; it might actually interfere with your car’s audio system as it tries to ‘cancel’ a mechanical rattle. The DIY world is becoming more digital, and keeping your interior mechanically tight is becoming a prerequisite for your car’s software to function correctly. Much like understanding brake system repairs requires a bit of physics, maintaining a quiet cabin requires a bit of foresight into how materials expand and contract with the seasons.
Don’t sleep on the torque wrench for your seats
Most people hand-tighten their seat bolts and call it a day. I used to do the same until I realized that an unevenly torqued seat frame is the number one cause of persistent groaning. If one corner is tighter than the others, the frame is under constant torsional stress. I always use a small torque wrench set to the manufacturer’s spec—usually around 35 to 45 foot-pounds—to ensure even pressure. It’s a simple step that differentiates a ‘backyard fix’ from a service guide level repair. If you’ve been struggling to how to tell if your car needs a simple tune-up or a major repair, start with the bolts you can see. If they are loose, your car is telling you it’s time for a deeper inspection. My challenge to you: go out to your car right now, grab the passenger seat, and give it a firm shake. If it moves even a millimeter, grab your socket set and get to work.
Lessons from a Decade of Chasing Cabin Rattles
Over the years, I’ve realized that silence in a vehicle is often a result of patience rather than brute force. One of the biggest shifts in my mindset occurred when I stopped viewing noises as “old car problems” and started seeing them as friction challenges. Here is the insider wisdom I wish I had on day one:
- The Temperature Trap: A seat that is quiet in the summer heat might scream in the winter because plastic shrinks and metal stiffens. Always perform your final tightening during a moderate-temperature day to avoid over-stressing components.
- Trim Tension: I once snapped a plastic bracket trying to stop a rattle. Sometimes, backing off a screw by a quarter-turn is better than tightening it until it groans.
- Chemical Compatibility: Never mix lubricants. If you already applied a spray, wipe it away completely before adding grease.
The Silence Toolkit I Keep in My Trunk
You don’t need a professional-grade shop to keep your interior quiet, but you do need the right chemistry. If you are following the ultimate car service guide, you know that quality supplies prevent double work. Here is what I personally recommend:
- Nylon Pry Tools: These are non-negotiable. They allow you to pop plastic panels without leaving those ugly white stress marks or gouges.
- High-Viscosity White Lithium Grease: This is for the heavy metal tracks. It stays put and won’t drip on your carpet.
- Small Torque Wrench: Ensuring your seat bolts are even is the key to preventing long-term frame torsion.
If you’ve already mastered this and are looking for more ways to kill annoying sounds, check out my guide on how to fix a rattling heat shield for under ten dollars—it’s a similar process of isolation and tightening that yields huge results.
Your Car Deserves a Peaceful Cabin
There is a specific kind of joy in driving a car that feels solid and silent. When you take the time to implement the easy fix for a squeaky drivers seat, you aren’t just performing maintenance; you are restoring the sanity of your daily commute. Remember that working on your car’s interior is part of how you maximize your cars lifespan with expert tune-up strategies. A well-cared-for cabin is the hallmark of a driver who respects their machine. Don’t let a five-cent squeak ruin a thousand-dollar driving experience. Grab your tools and reclaim your quiet ride today. Have you ever found a weird object like a coin or a pen stuck in your seat tracks that was causing all the noise? Let me know in the comments below!