
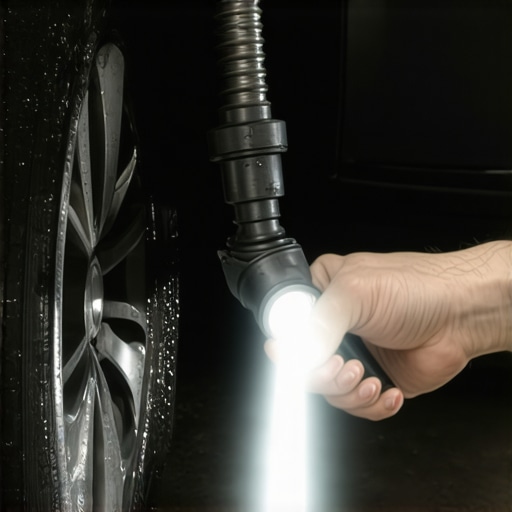
I remember taking my old wagon through a routine corner on a road I’ve driven a thousand times, but this time felt different. The backend felt like it was floating on a bowl of Jell-O. Every tiny dip in the pavement sent me into a rhythmic bounce that just wouldn’t quit. I made the classic DIYer mistake: I convinced myself that since I didn’t own a hydraulic lift, I couldn’t possibly confirm the problem myself. I just kept driving. That mistake eventually cost me a set of tires and a very stressful rainy commute where the car nearly swapped ends on a slick off-ramp. If you’re feeling that unsettling sway or hearing a mysterious thud, you don’t need a professional shop to find the culprit. Today, I’m going to show you exactly how to find a compromised shock absorber using nothing more than a flashlight and your own two eyes while the car sits right there in your driveway.
The Day My Sedan Turned Into a Trampoline
It starts subtly. Maybe you notice the nose of your car dives a bit harder when you hit the brakes, or perhaps it feels like you’re riding a wave after hitting a speed bump. When my shocks first started giving up the ghost, I ignored the light “sweating” I saw around the housing because I didn’t want to crawl around on the concrete. I figured troubleshooting common auto repair issues before visiting the shop was only for the big stuff, like engine codes or brake squeals. I was wrong. A leaking shock is a silent thief of safety. It’s not just about comfort; it’s about keeping your rubber on the road. According to the suspension experts at Monroe, worn shocks can increase your emergency stopping distance by up to 10 feet at highway speeds, which is often the difference between a close call and a fender bender. Have you ever felt your car continue to oscillate long after the bump is gone?
Is it really possible to diagnose this without a professional lift?
I get the skepticism. We’ve been conditioned to think that suspension work requires a view from underneath while the wheels hang free. But gravity is actually your friend here. By keeping the car on its own weight, you can see how the fluid is escaping under the actual pressure of the vehicle’s mass. You might be seeing the signs your struts are finally bottoming out without even realizing it. The trick is knowing where the “wetness” should and shouldn’t be.
Your Driveway is All the Shop You Need
You don’t need to be a master mechanic to perform the simple test for worn out shocks using your own body weight. In fact, most of the tell-tale signs of a hydraulic failure are visible from the wheel well if you know how to angle your head. Before you go spending hundreds at a service center, take five minutes to do a visual “walk-around” inspection. Look for a dark, grimy coating on the shock body—this isn’t just road dirt; it’s oil that has escaped the internal valving and trapped every bit of dust it could find. We’re going to dive into the specifics of the touch test and how to differentiate between normal road grime and a fatal fluid leak.
Hunt for the Tell-Tale Grime
Grab a high-lumen flashlight and get low. You’re looking for what I call ‘mistletoe’—that weird, fuzzy buildup of gunk on the shock body. A healthy shock is like a clean piston; it should be dry and dusty, but never oily. If you see a dark, damp patch near the top seal, it’s actively hemorrhaging fluid. I once spent three weekends chasing a front-end rattle on my old sedan, thinking it was a loose ball joint. I’d replaced half the steering linkage before I realized the strut wasn’t just old—it was bone dry. The oil had leaked out months prior, leaving only a hard, black crust I’d mistaken for undercoating. When you perform a car service checklist, the shock body should be uniform in color. If one corner looks like it’s been dipped in molasses, the internal valving has failed, and your spring is now doing all the work alone. This is often why your car drifts to one side even on a flat road, as that corner loses its ability to dampen road irregularities. 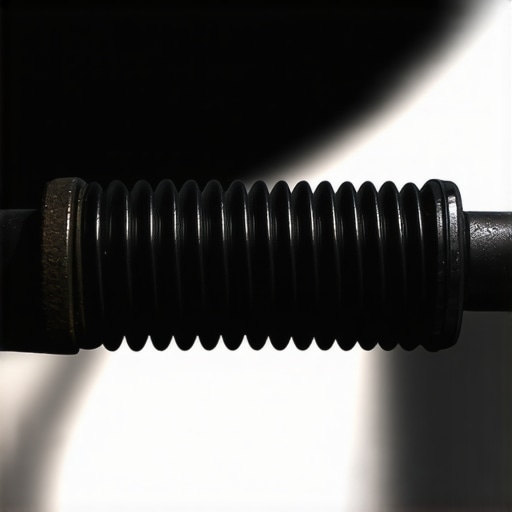
Put Your Weight Into the Bounce
This is the most famous DIY diagnostic for a reason, but most people do it wrong. You aren’t just looking for a bounce; you’re looking for the ‘recovery cadence.’ Walk to a corner of the car, place both hands on a sturdy part of the frame—not the plastic bumper—and shove down with everything you’ve got. Let go abruptly. A healthy suspension will come up, settle, and stop immediately. If it oscillates like a bowl of pudding, you’re riding on just springs. I remember doing this on my brother’s truck and the thing bounced four times before stopping; he’d been wondering why your car wanders across the lane at high speeds for months. That secondary bounce is the clear sign that the hydraulic resistance is gone. You can also how to use your ears to find a suspension clunk during this test. If you hear a metal-on-metal ‘tink’ or a hollow ‘thud’ when the car reaches the top of its travel, the internal bushings of the shock are likely shattered.
Read the Secret Language of Your Tires
If you’re still not sure, the rubber won’t lie to you. Run your hand along the circumference of the tire tread. Do you feel smooth rubber, or does it feel like a series of hills and valleys? This is called ‘cupping’ or ‘scalloping.’ When a shock is shot, the tire literally dribbles down the road like a basketball. Every time it hits the pavement after a tiny bounce, it rubs off a little extra tread. This uneven wear is a dead giveaway. Learning how to get more life out of your current tires starts with realizing that bad shocks will chew through a brand-new set of Michelins in less than 10,000 miles. I once saw a set of tires so badly cupped they looked like a saw blade from the side profile—all because the owner didn’t want to check a twenty-dollar part.One of the biggest myths I hear in the garage is that a ‘good’ shock should feel rock-hard. In reality, an excessively stiff suspension is often a sign of a seized internal valve, which is just as dangerous as a blown one. High-performance shocks, like those engineered by Bilstein, focus on ‘digressive valving’—meaning they are designed to be supple over small ripples but firm up instantly for big hits. If your car feels like a rigid go-kart on a gravel road, you aren’t gaining performance; you’re losing mechanical grip. This is a common theme in brake service myths what you need to know before your next stop, where people assume more aggressive parts always equal better safety.
Why does my car still feel floaty after buying gas-charged shocks?
Here is the nuance: the nitrogen gas inside a shock absorber doesn’t actually provide the damping force. Its only job is to put the hydraulic fluid under pressure to prevent ‘cavitation’—the tiny bubbles that form when the oil gets hot and moves fast. If you’ve ever wondered how to maximize your cars lifespan with expert tune up strategies, you have to look at the fluid health. Once that gas leaks out, the oil foams, and your damping goes to zero within minutes of driving. It’s a silent failure because the shock might still look perfectly dry on the outside while being internally useless.
The Rookie Mistake That Ruins New Parts
The most expensive ‘oops’ I see DIYers make is failing to ‘prime’ a new shock before installing it. Most shocks are stored horizontally in a warehouse for months, allowing air to migrate into the working chamber. If you bolt them on and immediately hit a pothole, the air pocket can damage the internal seals instantly. Always compress the shock by hand three or four times while holding it vertically before it goes on the car. It’s a small step, but ignoring it shows why understanding brake system repairs a guide for vehicle owners is so vital; preparation is always half the battle. 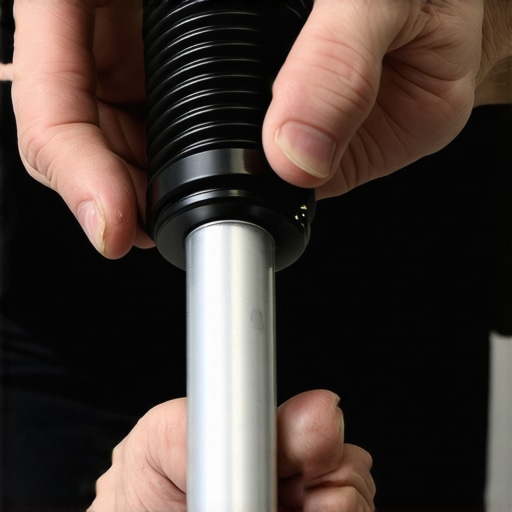 Also, never replace just one side. I know it’s tempting to save the money, but an old shock and a new shock on the same axle have entirely different rebound rates. This imbalance is often why your brake rotors keep warping every few months because the car dives unevenly, putting massive heat stress on just one corner. When you have one fresh shock and one tired one, your Electronic Stability Control gets confused by the uneven wheel speeds during a bounce. You might think you’re saving fifty bucks, but you’re actually degrading the logic of your car’s safety computer. This is as critical as knowing how to spot a leaking brake caliper before it fails; if the resistance isn’t equal across the axle, the vehicle will never track straight under duress. Have you ever fallen into this trap? Let me know in the comments if you’ve ever tried to ‘cheap out’ on a suspension corner only to regret it a month later.I’ve seen too many guys tighten suspension bolts until their veins pop, thinking ‘tight is tight.’ That’s a recipe for snapped hardware or premature bushing failure. To get the best results, I never touch a strut tower or a control arm without my 1/2-inch drive click-type torque wrench. Following the exact factory foot-pound specs is one of the most essential maintenance tips I can give you. If you don’t have the shop manual, many parts manufacturers like ZF Friedrichshafen AG provide detailed installation guides that specify the exact ‘torque-to-yield’ requirements for their components. Using a torque wrench ensures the rubber bushings aren’t pre-loaded at the wrong angle, which is a major factor in how regular tune-ups improve fuel efficiency and safety by maintaining proper geometry.
The Torque Wrench is My Secret Weapon
Beyond just the big wrench, I always keep a bottle of high-quality penetrating oil—not just the generic stuff, but something with a capillary action like PB Blaster—and a wire brush. Before you even crack a bolt, you need to clear the threads. This prevents the friction from giving you a false torque reading. When you’re following the ultimate car service guide, remember that the prep work is what makes the actual repair last five years instead of five months. 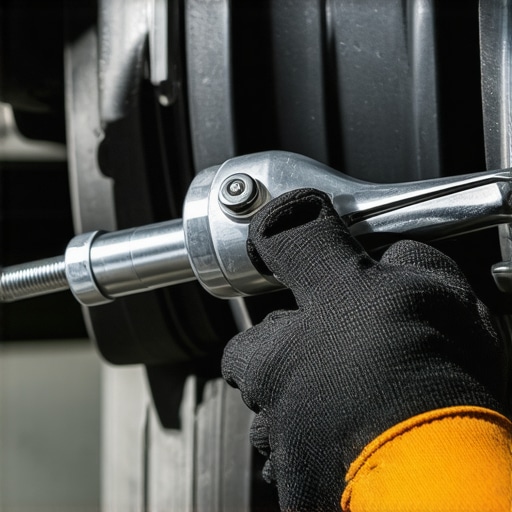
How do I keep my suspension from failing again?
The secret isn’t just buying the most expensive parts; it’s consistency. I keep a dedicated logbook in my glovebox where I track the date and mileage of every component swap. Every time I do an oil change, I spend sixty seconds wiping down the shock bodies to check for fresh leaks. This proactive approach is a core part of how to maximize your cars lifespan with expert tune up strategies. If you catch a slight weep early, you can plan the repair for a sunny weekend rather than being forced into an emergency shop visit on a Monday morning.
Ditch the Guesswork with Real Data
Looking forward, we are seeing a massive shift in how we handle these issues. We’re moving toward auto repair trends to watch in 2025 where smartphone apps will use your phone’s accelerometer to map your suspension’s frequency response. Instead of the ‘bounce test,’ you’ll just drive over a specific bump while your phone records the vibration data. It’s an exciting time to be a DIYer because the tools are becoming more intelligent. For now, though, your best bet is to follow a car service checklist religiously. My challenge to you: Go grab your owner’s manual, find the torque spec for your lug nuts or a shock bolt, and actually use a torque wrench this weekend. You’ll be surprised at how ‘off’ your muscle memory actually is.
The Hardest Lesson I Learned While Chasing Suspension Issues
I used to think that as long as the car wasn’t bottoming out, the shocks were just fine. I was wrong. The biggest takeaway from my years of turning wrenches is that suspension health is cumulative. One bad component doesn’t just fail; it accelerates the wear on everything else, from your rubber bushings to your steering rack. I learned the hard way that how to tell if your wheel alignment is actually off often starts with looking at those dampened corners first. If you wait until the car is undriveable, you aren’t just doing a repair; you’re doing a full-scale restoration. Catching a leak early saves your tires and your sanity.
My Go-To Kit for Maintaining a Smooth Ride
You don’t need a professional shop’s tool chest to keep your car safe, but a few specific items make a world of difference. First, get a 1/2-inch drive torque wrench; it’s the only way to ensure your work meets the safety standards required for heavy suspension loads. Second, keep a bottle of high-quality penetrating oil on hand for those stubborn, rusted lower bolts. I also highly recommend checking out the technical diagrams from manufacturers like Monroe or Bilstein for your specific model. Following a car service checklist helps you catch these issues before they become expensive nightmares. A good headlamp is also far superior to a handheld flashlight when you’re reaching into tight wheel wells.
Take Back Control of Your Driveway
Diagnosing your own vehicle is about more than just saving money; it’s about the confidence that comes with knowing exactly how your machine works. Whether you’re performing a tune-up for peak performance or just checking for hydraulic leaks, you’re becoming a more informed owner. Don’t be afraid to get your hands dirty—your car will thank you with a smoother, safer ride for years to come. Successfully mastering auto repair starts with that very first look under the wheel well. #IMAGE_PLACEHOLDER_E# Have you ever noticed your car floating after a bump only to find out your shocks were bone dry? Let me know your suspension horror stories in the comments below!