

I remember the first time I felt it. I was rolling up to a busy intersection in my old truck, expecting that smooth, easy bite of the brakes I’d grown used to. Instead, the pedal felt like a solid block of wood. I had to stand on it with both feet just to keep from rolling into the bumper ahead of me. It was terrifying, visceral, and a wake-up call I’ll never forget. At the time, I made the rookie mistake of just swapping out the pads, thinking they were glazed or worn. I spent sixty bucks and a whole Saturday afternoon only to realize the real culprit was hiding right behind the master cylinder, slowly gasping for air. Today, I want to make sure you don’t waste time and money like I did. We’re going to pinpoint exactly how to tell if that vacuum pressure is escaping and what you can do to reclaim your stopping power.
Why Your Hard Brake Pedal Is a Major Red Flag
Dealing with a stiff pedal isn’t just an annoyance; it’s your car’s way of screaming for help. Most modern vehicles rely on a vacuum-assisted booster to do the heavy lifting for you, multiplying the force from your foot so you don’t have to be a bodybuilder just to park. When that internal diaphragm starts to fail or you lose a seal, you’re essentially back in the 1950s, using raw leg power to stop a two-ton machine. If you’ve ever noticed why your brakes feel soft after being parked or suddenly turn rock-hard while driving, you need to look at the booster. It’s often the most overlooked part of understanding brake system repairs. In fact, data from the National Highway Traffic Safety Administration (NHTSA) indicates that while total brake failure is rare, component degradation—like a failing power assist—is a leading factor in accidents where the driver reported they simply couldn’t stop in time. Before you head to the mechanic, troubleshooting common auto repair issues on your own can save you a fortune. I’ve seen folks get quoted for a whole new master cylinder when they really just had a cracked vacuum hose.
Is a new brake booster actually worth the headache?
You might be thinking that as long as the car stops eventually, you can just put this off. But here is the reality: a failing booster can also affect your engine’s performance. Because it relies on engine vacuum, a leak in the booster is essentially a giant vacuum leak for the engine itself, which can lead to a rough idle or stalling. It’s a double whammy of safety risks. Have you ever had that heart-stopping moment where the pedal felt like a brick and the car just wouldn’t slow down? It is a scary feeling, but catching it early is easier than you think. You also want to be careful not to confuse this with other issues, such as how to tell if your master cylinder is failing internally, as the symptoms can overlap in frustrating ways. Let’s look at the simple tests you can do in your driveway right now to find out the truth.
The Three-Minute Driveway Test to Confirm a Bad Booster
To start, park your car on level ground and keep it in park with the emergency brake on. With the engine completely off, pump the brake pedal five or six times. You should feel the pedal get progressively stiffer until it barely moves at all. This process exhausts the stored vacuum inside the booster. Now, keep your foot firmly pressed against that rock-hard pedal and start the engine. If the booster is healthy, the pedal should drop slightly under your foot—almost like it is exhaling. This is the power assist coming back to life. If the pedal stays rigid or pushes back against your leg, you have found the ghost in the machine. I remember performing this test on a neighbor’s old sedan last summer. He was convinced he needed a massive brake service because the pedal was fighting back. When we did the start-up test and the pedal didn’t budge, we knew immediately that the vacuum assist was dead. We didn’t even have to pull a wheel off to find the culprit.
Follow the Hiss to Find the Leak
Think of the vacuum hose like a drinking straw. If there is even a tiny pinprick in that straw, you cannot pull any liquid through it. The same logic applies to your braking system. Open the hood and locate the thick rubber line running from the engine intake manifold to the round brake booster. You are looking for cracks, dry rot, or places where the rubber might have rubbed against a hot engine component. If you cannot see a hole, you can often identify a vacuum leak using a simple cigar or a specialized smoke machine. Seeing that smoke get sucked into a tiny fissure is much more satisfying than guessing. 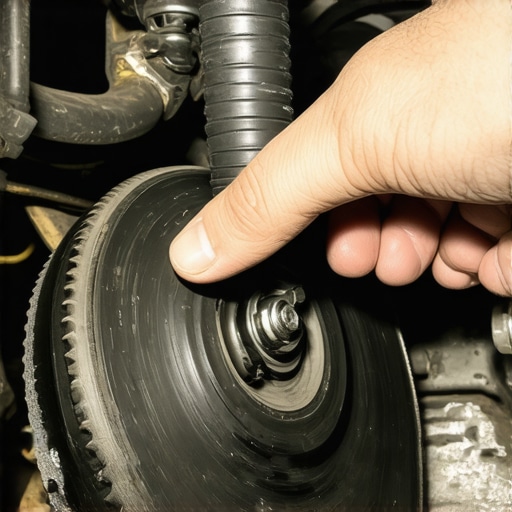
Stop Your Engine From Fighting Your Brakes
Because this system is so tightly integrated with your engine, a leak here acts as a common auto repair issue that ripples through the entire vehicle. A leaking booster is essentially a giant air leak for the engine, which throws off the air-fuel mixture. I have seen folks spend hundreds of dollars chasing a rough idle or a random misfire, performing a full tune-up, when the real problem was just a ten-dollar check valve.
The Secret to Spotting a Failing Check Valve
Before you commit to replacing the entire booster unit, look at the small plastic elbow where the vacuum hose enters the booster housing. That is the check valve. Its only job is to hold vacuum inside the booster so you have one or two assisted stops even if the engine dies. If you pull this valve out (it usually just pops out of a rubber grommet) and can blow air through it in both directions, it is broken. Replacing this should be part of any comprehensive car service checklist. Just remember, this fix is specifically for a hard pedal; if you are dealing with the opposite, you need to look into the fix for a soft brake pedal instead. Isolating the vacuum source first ensures you aren’t throwing money at parts that are still perfectly functional.
Stop Throwing Parts at Your Hard Brake Pedal
I see it all the time in DIY forums: someone complains about a rock-hard pedal, and the immediate advice is to ‘just swap the pads and rotors.’ This is one of the most persistent brake service myths out there. In my experience, if your pedal feels like a brick, your friction material—the pads—is rarely the primary culprit. Glazed pads might squeak or lose some ‘bite,’ but they won’t fundamentally change the physical resistance of the pedal. That resistance is almost always a pneumatic or hydraulic issue. By assuming it’s a simple pad job, you’re not just wasting money; you’re ignoring a potential vacuum failure that could leave you without power assist in a panic stop. Before you buy into the ‘bigger is better’ mentality with performance rotors, focus on the baseline health of your assist system.
Can a failing master cylinder actually mimic a vacuum leak?
This is where things get nuanced. While a booster failure gives you a hard pedal, an internal leak in the master cylinder usually results in a ‘sinking’ pedal. However, there is a rare overlap where a sticking master cylinder piston can prevent the booster from venting properly, creating a confusing, inconsistent pedal feel. If you are understanding brake system repairs at an advanced level, you know to check the fluid for dark swirls. This ‘coffee creamer’ look often indicates that the internal seals of the master cylinder are disintegrating and could be clogging the valves. If you’ve been wondering how to tell if your master cylinder is failing internally, look for that discoloration as a primary clue before blaming the vacuum system.
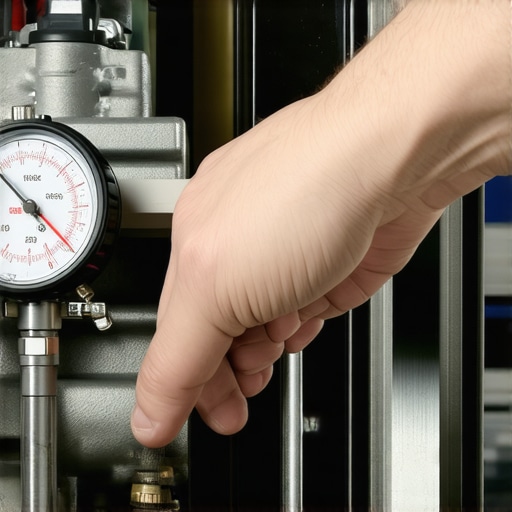
According to technical guidelines from the Car Care Council, neglecting these small diagnostic steps leads to over 20% of unnecessary parts replacements in independent shops. Don’t let your car become part of that statistic.
Avoid the pushrod trap that destroys new rotors
Here is the ‘oops’ factor that separates the amateurs from the pros: the pushrod adjustment. When you replace a booster, there is a small rod that pokes out to hit the master cylinder. If that rod is even a sixteenth of an inch too long, your brakes will be ‘pre-loaded.’ This means your pads are constantly rubbing against the rotors while you drive. Within five miles, your wheels will be scorching hot, and you’ll likely warp your brand-new parts. I once spent a whole day troubleshooting common auto repair issues on a friend’s truck only to find out the ‘new’ booster’s pushrod was poorly calibrated from the factory. Always measure the old vs. the new. Once the mechanical side is set, make sure you follow the proper way to break in new brake pads and rotors to ensure the system is bedded correctly. Have you ever fallen into the ‘parts cannon’ trap where you just kept replacing things until the problem went away? Let me know in the comments below—I’d love to hear your horror stories and what you learned from them!
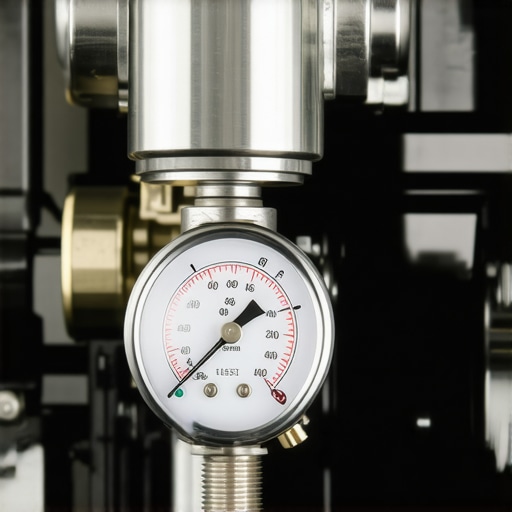
I have spent way too many years ‘throwing parts’ at problems, hoping a new set of pads would magically fix a rock-hard pedal. Eventually, I learned that professional results require professional data. Now, I never tackle a brake job without my handheld vacuum pump. This tool is my secret weapon; it allows me to apply a controlled vacuum to the booster and see if the internal diaphragm actually holds that pressure over ten or fifteen minutes. If I see the needle on the gauge creeping back toward zero, I know the unit is trash before I even bother bleeding the lines. When you are understanding brake system repairs at a deeper level, you realize that having a gauge is better than having a hunch. This diagnostic step is also a key part of any car service checklist that actually matters.
Stop Guessing and Start Measuring with a Vacuum Gauge
The specific model I use is a metal-bodied vacuum pump because the plastic ones tend to flex and give false readings. By hooking it directly to the booster check valve, I can simulate the engine’s pull. According to technical documentation from SAE International (Standard J1151), a healthy vacuum booster should be able to maintain its assist capability for several hours after the engine is shut down. If your car loses its ‘easy’ pedal feel just minutes after you turn the key off, you have a slow leak that will eventually leave you stranded. Checking this is just as vital as any tune-up for peak performance you might perform on the engine side. It ensures that the vacuum being produced is actually being put to work.
How do I keep my power assist system from failing again?
Maintenance for a brake booster isn’t just about the booster itself; it is about the environment it lives in. Moisture is the silent killer here. If you ignore your fluid flushes, that moisture-heavy fluid can corrode the master cylinder seals, which eventually leak brake fluid into the booster housing. That fluid eats the rubber diaphragm from the inside out. This is a common reason why your brake fluid levels keep dropping without a visible leak—it is all pooling inside the round black drum behind your dash. Beyond fluid, keep an eye on your engine health. Since the booster relies on a steady vacuum, a poorly tuned engine with a rough idle will provide inconsistent assist. Regularly performing a tune-up to maximize your car’s lifespan is the best way to ensure the booster always has the ‘fuel’ it needs to operate.
Why the Future of Braking is Leaving Vacuum Behind
As we look toward auto repair trends to watch in 2025, the traditional vacuum booster is slowly being phased out. Modern electric vehicles and many new turbo-charged cars now use ‘iBooster’ technology or electric vacuum pumps. These systems are far more precise and don’t rely on the engine’s intake manifold pressure, which means you get the same pedal feel regardless of whether the engine is screaming or sitting at a light. While this makes troubleshooting common auto repair issues a bit more complex—requiring software instead of just a cigar and a smoke machine—it ultimately leads to safer, more consistent stopping power. For those of us with older rigs, the goal remains the same: keep it sealed and keep it clean. Try this advanced tip: next time you have the vacuum line off, check for a ‘false error code’ by using a scanner to see if the engine computer is compensating for a vacuum leak you didn’t even know you had. It is a great way to verify if your computer is giving you a false error code related to your fuel trim.
Hard-Won Truths from My Garage Floor
If there is one thing a decade under the hood has taught me, it is that a hard pedal is never a problem you can ‘drive through.’ I used to think that as long as the car stopped eventually, I was fine, but that is one of the most dangerous brake service myths out there. The biggest lesson I learned? Don’t assume a quiet engine means a sealed system. Some of the worst vacuum leaks I have ever diagnosed didn’t make a sound; they were slow, internal failures of the booster diaphragm that only showed up under heavy load. I also realized that jumping straight to the most expensive part is a fool’s errand. Always check that ten-dollar check valve first; it is the unsung hero of your braking system and often the sole reason for a pedal that feels like a brick in the morning.
The Tools That Saved My Sanity
You do not need a shop full of industrial equipment to solve this, but a few specific items make a world of difference. First, get a handheld vacuum pump with a built-in gauge. It turns guesswork into science. I also highly recommend keeping a dedicated car service checklist handy so you don’t skip the small stuff, like inspecting the grommet where the check valve meets the booster. Finally, I never start a complex job without a reliable technical resource. While YouTube is great, the ultimate car service guide for your specific make and model will have the exact vacuum mercury readings you need to see. These tools take the anxiety out of the repair and ensure you are actually fixing the root cause, not just the symptom.
#IMAGE_PLACEHOLDER_E#
Take Control of Your Stopping Power
Fixing a hard brake pedal is about more than just convenience; it is about reclaiming the confidence you feel every time you get behind the wheel. When you know your vacuum system is tight and your assist is strong, you can focus on the road instead of worrying if your leg is strong enough to handle an emergency stop. Regular maintenance, including how regular tune-ups improve fuel efficiency and safety, keeps your engine’s vacuum production steady and your brakes responsive. Don’t let a stiff pedal keep you off the road or drain your wallet on unnecessary parts. Grab a gauge, follow the lines, and get your stopping power back where it belongs. Have you ever replaced a part only to find out a tiny rubber hose was the real culprit? Let me know about your most frustrating ‘parts cannon’ moments in the comments below!