

I was cruising at sixty-five miles per hour on the I-77 when I heard a sound like a gunshot from the rear of my sedan. My heart skipped a beat, thinking I’d blown a tire, but then I glanced in the rearview mirror. Instead of the asphalt, I saw a wide expanse of blue sky and the lid of my trunk flapping like a giant metal wing. It is a terrifying moment that turns a peaceful drive into an emergency instantly. If you have ever dealt with a lid that suddenly loses its grip, you know the frantic search for a bungee cord in the glovebox. I have been there, and I know exactly how to stop it from happening again.
Why Your Trunk Lid Won’t Stay Latched Under Pressure
I have spent years under hoods and inside chassis, and I can tell you that a trunk popping open isn’t just an annoyance; it is a massive safety hazard. Early in my DIY days, I made the mistake of thinking a bit of WD-40 on the latch was a permanent solution. I was wrong. A few miles later, my gear was scattered across the road. This issue usually boils down to a few specific culprits: a misaligned striker, a failing electronic actuator, or a release cable that has seen better days. When you are troubleshooting common auto repair issues before visiting the shop, you realize that these latch mechanisms are surprisingly delicate.
Should I worry about a massive repair bill?
No, your car is not disintegrating, but your latch is definitely screaming for help. According to safety reports from the National Highway Traffic Safety Administration (NHTSA), latch failures are a recurring cause of vehicle recalls because they involve a complex interplay of mechanical tension and electrical signals. It is very similar to the frustration of a car door that won’t latch in the heat, where thermal expansion messes with the metal tolerances. Today, we are going to walk through how to diagnose the root cause so you are not that person on the shoulder of the highway with a roll of duct tape. Understanding when and why to schedule maintenance can prevent these spooky mechanical ghosts from haunting your commute. Have you ever had your trunk fly open at the worst possible moment? I would love to hear your survival stories in the comments below. Whether you just need a simple tune-up or a major repair, getting it right the first time is what matters.To fix a trunk that won’t stay shut, you have to treat it like a puzzle where the pieces no longer fit. I once spent two hours on a customer’s sedan trying to force the trunk closed, only to realize a stray penny had lodged itself inside the latch “jaws.” It was a humbling reminder that sometimes the smallest obstruction causes the biggest headache. Before you replace parts, grab a flashlight and look for coins, gravel, or bits of plastic that might be blocking the mechanism from fully seating. Using a car service checklist helps you catch these tiny physical barriers before they escalate into “broken” parts.
Stop the Slamming and Start Inspecting
The Screwdriver Test for Mechanical Failure
You can simulate the trunk closing without actually slamming the lid. Take a thick screwdriver and push it into the latch mechanism—the part on the lid—to see if it clicks into a locked position. If it clicks once but doesn’t hold, or won’t click at all, the internal spring is likely snapped or gummed up. This is very similar to how to fix a sticky gear shifter; usually, a buildup of old, hardened grease is the villain. I’ve found that spraying a bit of lithium grease while working the latch manually often revives a “dead” mechanism. 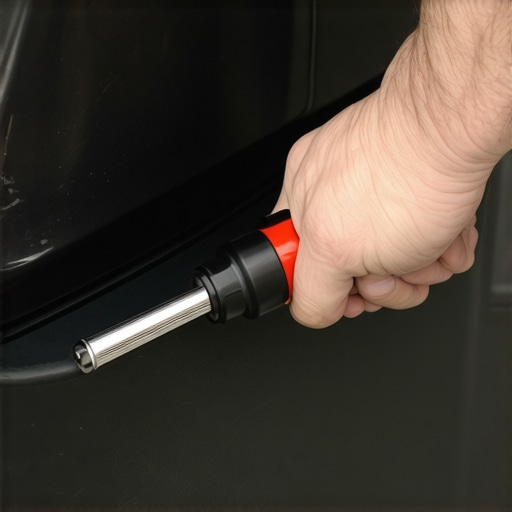
Find Out if Your Electrical System is the Culprit
Modern cars use an electronic actuator to “pop” the trunk. If this motor is receiving a constant signal to open, your trunk will never stay shut. I remember a particularly rainy week where a customer’s trunk kept flying open at stoplights. The culprit wasn’t the latch; it was a short in the wiring harness. You need to know how to tell if your electrical problem is a blown fuse or a bad ground wire because a faulty ground can cause the actuator to fire randomly. If you hear a “whirring” or “clicking” sound coming from the trunk when you haven’t even touched the button, your electrical system is ghosting you.
Wrenching the Striker Back Into Alignment
The striker is the metal loop on the body of the car that the latch grabs onto. Over time, vibrations or heavy cargo can knock this loop out of alignment. If the latch and striker are off by even a few millimeters, they won’t “marry” correctly. Loosen the bolts on the striker plate slightly, move it a hair toward the latch, and tighten it back down. This is an essential part of any tune up for peak performance because it ensures the structural integrity of your storage area. I once fixed a “broken” latch on my own truck just by shifting the striker plate up by an eighth of an inch—it felt like magic, but it was just simple geometry.
Verify the Release Cable Tension
If your car uses a physical lever by the driver’s seat, the cable might be stretched or stuck. If the cable is too tight, it keeps the latch in the “open” position. I’ve seen people replace entire latches when all they needed was to unstick a rusted cable. It’s a lot like drum brakes dragging in the rear; if the tension isn’t released, the part can’t do its job. Clean the cable ends and ensure the spring on the latch has enough “snap” to pull the cable back after you pull the lever.Most DIYers fall into the trap of the “parts cannon.” They see a broken latch and immediately hit “buy” on a twenty-dollar replacement from an unknown brand online. In my experience, a cleaned and properly adjusted OEM (Original Equipment Manufacturer) latch will outperform a cheap knock-off every single day. This is a recurring theme in many brake service myths where people think new is always better, but if the underlying geometry is off, that new part is just a temporary bandage. When you are understanding brake system repairs, you learn that tolerance is everything. The same applies to your trunk.
The Lubrication Trap That Destroys Latches
Here is the “oops” factor I see constantly: using the wrong lubricant. Most people grab a can of whatever is on the shelf, usually a standard penetrating oil. But these are often solvents, not long-term lubricants. They wash away the remaining factory grease, leaving the metal-on-metal contact points dry and prone to seizing within weeks. This is a common mistake when learning how to fix a sticky gear shifter or a trunk latch. You need a high-quality white lithium grease or a silicone-based spray that won’t attract dust and road grime. According to engineering standards from SAE International, the coefficient of friction in latching mechanisms must remain within a tight margin to ensure the secondary catch—that safety hook that stops your trunk from flying open at 70 mph—can engage instantly.
Wait, Is There a Hidden Danger in Using Generic Aftermarket Parts?
Absolutely. The nuance most people miss is that modern cars use the trunk latch as part of the security and electrical circuit. If the resistance in a cheap aftermarket actuator is off by just a few ohms, it can confuse your car’s Body Control Module (BCM). I have seen cases where a “fixed” trunk caused the car’s alarm to trigger at 3 AM because the sensor wasn’t calibrated correctly. It is the same precision required for testing your alternator with a simple multimeter at home; you are not just looking for a “yes” or “no” signal, you are looking for the right signal. 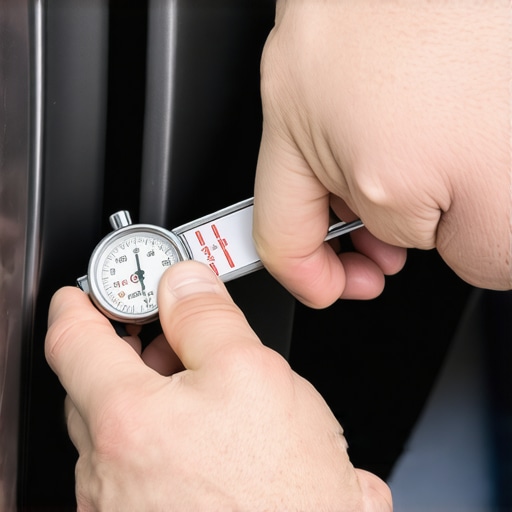 Before you swap any hardware, check the striker alignment again. If you have to slam the lid, something is mechanically wrong. A perfectly tuned latch should close with the weight of the lid itself. Have you ever fallen into the “parts cannon” trap and regretted it? Let me know in the comments below. Whether it was a trunk that would not stay shut or breaking in new brake pads and rotors, sharing those “oops” moments helps us all become better mechanics.To keep your car running smoothly, you have to move beyond temporary fixes and start thinking about long-term reliability. I’ve seen too many people focus solely on the engine while neglecting the small components that keep a vehicle functional day-to-day. If you want to maximize your cars lifespan with expert tune-up strategies, you need to apply that same level of detail to your latching mechanisms. Most trunk failures are cumulative, meaning they happen because of months of grit and vibration.
How can I keep my trunk latch working for another decade?
The secret is a biannual cleaning ritual. Every six months, I take a soft-bristled brush and some isopropyl alcohol to the latch assembly to remove the ‘black sludge’—that nasty mixture of old grease and road dust. Once it is bone dry, I apply a thin layer of PTFE-based lubricant. According to the Bosch Automotive Handbook, latching systems are designed to withstand forces up to 11,000 Newtons, but that structural integrity depends on the parts moving without friction-induced heat. Incorporating this into your car service checklist ensures that you never find yourself fighting a trunk lid in a grocery store parking lot.
Ditch the Pliers and Use the Right Tools
If you are going to do this yourself, stop reaching for the rusty adjustable wrench. To truly master troubleshooting common auto repair issues before visiting the shop, you need a dedicated set of Torx and Hex drivers. Most modern strikers and latches use T25 or T30 bolts, and using the wrong bit will strip them instantly, turning a five-minute adjustment into a three-hour extraction nightmare. I also recommend keeping a digital multimeter handy. Knowing how to test your alternator with a simple multimeter at home is great, but that same tool can tell you if your trunk actuator is getting the full 12 volts it needs to stay closed. 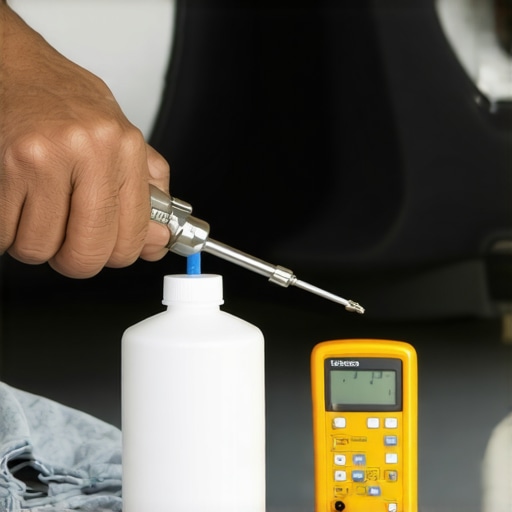
What Happens When Software Takes Over Your Trunk?
Looking ahead, we are seeing a massive shift in how vehicles handle entry and security. We are moving toward ‘e-latches’ where physical cables are entirely replaced by sensors and haptic feedback. As you look at auto repair trends to watch in 2025, it is clear that mechanical knowledge will soon need to be paired with basic software diagnostics. In the future, a trunk that won’t stay latched might just need a firmware update rather than a new spring. However, for those of us driving the cars of today, the physical hardware still reigns supreme. Understanding how regular tune-ups improve fuel efficiency and safety applies to the trunk too; a loose lid creates aerodynamic drag that kills your MPG over time. My challenge for you this weekend is to go out and check your striker alignment. If there is even a tiny bit of play when you wiggle it, tighten those bolts. It is a sixty-second task that could save you from a thousand-dollar highway disaster. Getting ahead of these small issues is the cornerstone of the ultimate car service guide, and your trunk (and your gear) will thank you.I’ve spent a lot of time getting my hands greasy, and the biggest lesson I’ve learned is that most trunk issues aren’t actually broken parts—they are just parts that have been ignored. I used to think that if a latch didn’t catch, it was trash and needed a total replacement. Now, I know that 90% of the time, it just needs a deep clean and a tiny adjustment to the striker position. Don’t let a shop talk you into an expensive bill before you’ve tried the screwdriver test. It’s the same logic I use to maximize your cars lifespan with expert tune-up strategies; it is always about proactive maintenance over reactive replacement. Another myth is that any oil will do the job. Using standard penetrating oil is actually a shortcut to a seized latch because it evaporates too quickly. Always stick to the heavy-duty lithium grease for long-term results.
My Go-To Kit for Latch and Lock Maintenance
If you want to do this right, you need a small but specific set of tools that most DIYers overlook. First, get a high-quality set of Torx bits; T25 and T30 are the absolute standard for modern strikers and latch housings. Using a flathead screwdriver to “force” these bolts will only strip them. Second, keep a can of white lithium grease or a high-end silicone spray in your trunk. I’ve used these same sprays to fix a sticking power window with incredible success. Finally, a digital multimeter is your best friend for modern electronic latches. If you can test your alternator with a simple multimeter at home, you can definitely check if your trunk solenoid is getting the consistent signal it needs to stay locked. #IMAGE_PLACE_HOLDER_E#
Start Your Sixty Second Safety Check
Don’t wait for your groceries to be scattered across the highway before you take action. Fixing a latch is one of the most rewarding DIY tasks because you feel the tactile “click” of success instantly. It gives you the mechanical confidence to tackle other small jobs, like when you clean clogged AC drain lines in minutes to keep your cabin dry and mold-free. Your car is a collection of small systems that need your attention. By taking care of the trunk today, you are ensuring a safer, quieter, and more efficient drive for the years to come. Have you ever had a trunk fly open at the most embarrassing moment possible? Tell me your story in the comments below—I’d love to hear how you fixed it!