
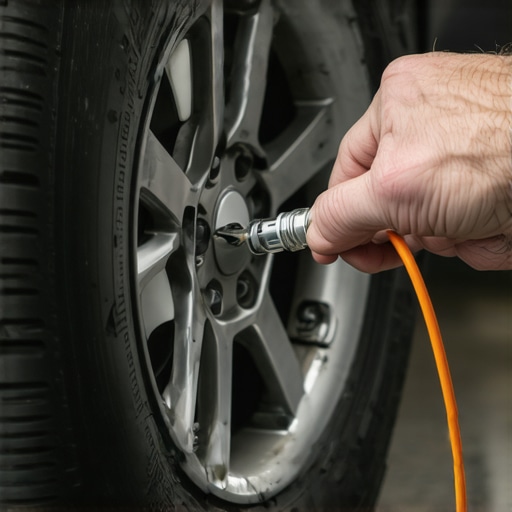
I was standing in a puddle at 2 AM, the rain soaking through my jacket, staring at a tire that looked like a pancake. I reached for that familiar bright yellow can of tire sealant, thinking I was a genius for being prepared. I wasn’t. Two days later, my dashboard lit up like a Christmas tree, and my local mechanic gave me that look—you know the one—while handing me a bill for a brand new TPMS sensor. It turns out, that emergency sealant is a double-edged sword. If you don’t use it correctly, the goo hardens over the sensor’s delicate ports, rendering it useless. We’ve all been there, looking for a shortcut when car service feels like an inconvenience, but today I’m going to show you exactly how to get home safely without sacrificing your car’s electronics. Have you ever had a quick roadside repair come back to haunt your wallet?
Stop Killing Your Tire Sensors with Bad Roadside Habits
Most people think they can just dump the whole can in and forget about it. That’s the first mistake. Early in my DIY days, I treated every auto repair like a ‘more is better’ situation. I over-sprayed sealant, ignored the instructions, and drove too fast afterward. The truth is, modern Tire Pressure Monitoring System (TPMS) sensors are incredibly sensitive instruments. According to a report by the Tire Industry Association, improper use of aerosol sealants is one of the leading causes of premature sensor failure in vehicles manufactured after 2008. You need to know the proper way to break in new brake pads and, just as importantly, how to handle a mid-drive emergency without causing a domino effect of mechanical failures. When that goo enters the tire, it’s meant to be a temporary bridge, not a permanent fix, yet we often treat it like the latter.
Will This Sticky Mess Actually Ruin My TPMS Forever?
It’s a valid fear. Many tire shops will even refuse to patch a tire when you’re miles from a shop if they see that white foam oozing out because it’s such a pain to clean. But here’s the secret: if you choose a ‘TPMS Safe’ labeled formula and follow a specific driving protocol immediately after application, you can usually save the sensor. I’ve learned the hard way that skipping the small details in your car service checklist leads to long-term headaches. We are going to dive into the exact steps to keep that sensor clear while still getting your car back on the road without a tow truck.
Position Your Valve Stem Like a Clock
Before you even crack the seal on that can, you need to think about gravity. If your valve stem is at the 6 o’clock position (the very bottom), the sealant is going to pool directly over the air inlet, which is the quickest way to drown your sensor in a sticky grave. I remember a Tuesday evening in Charlotte when I rushed the job in a dark parking lot. I didn’t check the position, squeezed the bottle, and hopped back in. Two miles later, the car started shaking like a wet dog because the liquid had settled into a heavy clump. To avoid this, roll your car forward or backward until the valve stem is at the 10 or 2 o’clock position. This allows the sealant to flow down the sides of the tire’s inner liner rather than dumping straight onto the delicate electronics. This simple step is a core part of troubleshooting common auto repair issues before visiting the shop and saves you from a $200 sensor replacement later.
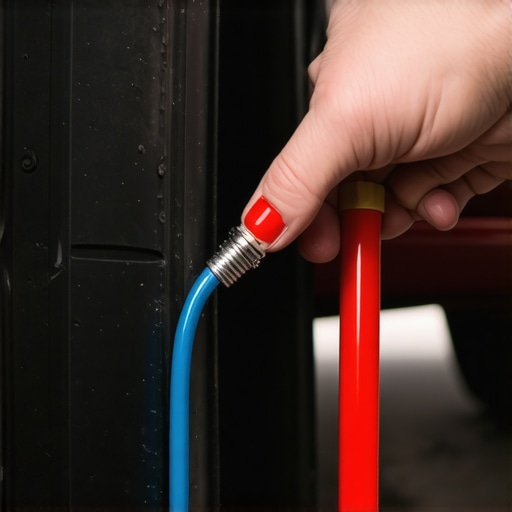
Choose a Sealant That Specifically Mentions TPMS Safety
Not all goos are created equal. You want to look for a water-based, non-flammable formula. Older sealants used harsh chemicals that could actually eat through the protective coating on your wheel rims or corrode the rubber seals in your sensor. When you are looking at your car service checklist, make sure the emergency kit in your trunk isn’t an expired relic from the 90s. Modern ‘TPMS Safe’ labels mean the liquid is thin enough to be spun off the sensor during driving, yet thick enough to plug a puncture. If you use a generic brand without this rating, you might fix the leak but cause a permanent imbalance, which could be the reason why your tires are wearing out in the middle but not the edges due to weight distribution issues.
Drive Immediately to Distribute the Weight
This is where most people fail. Once that sealant is in, you cannot let the car sit. Think of the sealant like paint on a spinning canvas; if you stop, it runs and drips. You need to drive the vehicle for at least 10 to 15 minutes at a moderate speed—usually between 25 and 45 mph. This centrifugal force flings the sealant against the outer tread, coating the puncture and, crucially, pulling it away from the sensor at the center of the wheel. I’ve seen people use sealant and then leave the car in the driveway overnight. By morning, that liquid has hardened into a ‘tire brick,’ and you’ll feel every vibration as if you’re driving on square wheels. Knowing how to patch a tire when you’re miles from a shop involves this active distribution phase to ensure the repair actually holds. This isn’t just about the flat; it’s a vital tune up your car for peak performance essential maintenance tips for emergency scenarios.
Most people think that if they have plenty of ‘meat’ left on their pads, their brakes are fine. That is a dangerous assumption. In my experience, the hardware is rarely the first thing to fail—it’s the chemistry. While you’re worried about that sealant in your tire, your brake fluid is likely absorbing moisture from the air, which lowers its boiling point and corrodes your calipers from the inside out.
Stop Assuming Your Brake Fluid Lasts Forever
Everyone tells you to check your pads, but few mention that brake fluid is hygroscopic, meaning it actively attracts water. According to a study by the Car Care Council, roughly 25% of vehicles on the road are operating with contaminated brake fluid. If you ignore this during your regular car service, you’re asking for a total system failure. This is often why your brake pedal goes all the way to the floor in heavy traffic—the fluid has literally turned to gas because the water inside it boiled. Checking the fluid is just as vital as checking the pads, but it’s a step that most DIYers skip because it feels ‘too technical.’
Does Your Brake Pedal Still Feel Spongy After a Fluid Flush?
I see this all the time: someone performs a perfect pad swap but forgets to clean the caliper bracket or ignores the slide pins. If those pins aren’t lubricated with the right high-temp ceramic grease, your new pads will drag, leading to the real reason your new brake pads are smoking after the first drive. It’s a sophisticated dance between hydraulic pressure and mechanical movement. If you’re just swapping parts without understanding brake system repairs as a holistic process, you’re just putting a band-aid on a mounting problem. You have to ensure the piston retracts smoothly and the air is 100% out of the lines, or you’re effectively driving a two-ton paperweight. Have you ever fallen into this trap where a simple fix led to a bigger bill? Let me know in the comments.
The Trap of Using One Size Fits All Parts
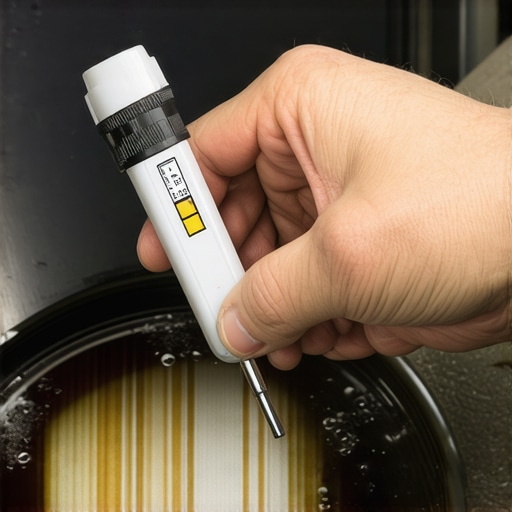
The term ‘tune-up’ has become a catch-all for ‘make my car run better,’ but modern engines don’t work like the old carbureted ones. A common ‘oops’ factor I see is people replacing spark plugs but ignoring the ignition coils or the Mass Airflow (MAF) sensor. I once spent three days chasing a rough idle on a client’s truck only to find they had used ‘economy’ plugs that didn’t match the specific heat range required by the manufacturer. This is exactly why your gas mileage dropped suddenly after a spark plug change. In the world of expert tune-up strategies, the biggest mistake is the ‘universal’ part. I’ve seen cheap oxygen sensors send a car’s computer into a tailspin because the electrical resistance wasn’t quite right. When you are going through your car service checklist, don’t just look for what’s broken—look for what’s about to break. For instance, a clogged PCV valve is a five-dollar part that can blow out your rear main seal, turning a minor auto repair into a multi-thousand dollar engine teardown. Precision is everything in modern tune up your car for peak performance routines.
Stop Guessing and Buy a Bidirectional Scanner
I wasted three whole weekends in my twenties chasing a ‘ghost in the machine’ because I was using a ten-dollar code reader. Those cheap tools only tell you the symptom, not the disease. If you want to take your expert tune-up strategies to the next level, you need a bidirectional scan tool. Unlike a basic OBD2 reader, these allow you to talk back to the car. You can command the fuel pump to turn on or check if an individual fuel injector is firing. According to Delphi Technologies technical documentation, monitoring ‘Long Term Fuel Trim’ (LTFT) is the single best way to catch a vacuum leak before it ever triggers a check engine light. If you see your LTFT creeping above 10%, you’ve got an issue brewing. I personally use an Autel because the live data graphing is crisp, and it helps me see exactly why your car vibrates while you are sitting at a stoplight by identifying misfires in real-time.
Don’t Let Your Multimeter Collect Dust
Every time I see someone replace a battery without checking the charging system, I cringe. Modern cars are basically computers on wheels, and those computers hate low voltage. I keep a high-quality Fluke multimeter in my glovebox because it’s the only way to truly find the hidden drain that kills your battery while the car is parked. You’d be surprised how often a stuck relay or a faulty glovebox light stays on and bleeds your system dry. Learning how to test your alternator with a simple multimeter at home is probably the most empowering skill you can have in your DIY arsenal. It turns a stressful morning jump-start into a quick ten-minute diagnostic session.
How do I maintain my car’s complex electronics for the long haul?
Maintenance isn’t just about oil and filters anymore; it’s about cleanliness and connectivity. Over time, road salt and grime can corrode the ground wires attached to your car’s frame, leading to bizarre electrical ghosts. Once a year, I go through my engine bay and hit the major ground points with a wire brush and some dielectric grease. This ensures the sensors get the clean signal they need for a tune up your car for peak performance. If you ignore these connections, you’ll find yourself wondering the reason your engine vibrates when the air conditioning is on, only to find out it was a simple five-cent connection failure all along.

The Future is Software and Sensors
As we look toward auto repair trends to watch in 2025, the line between mechanic and IT professional is blurring. We are seeing more Advanced Driver Assistance Systems (ADAS) that require laser-precision calibration. You need to know how to tell if your local mechanic actually has the tools for a proper ADAS calibration, because a camera that is off by even one degree can cause your emergency braking to fail. I predict that within five years, the most important tool in your garage won’t be a wrench—it will be a laptop with a high-speed interface. For a really advanced tip: next time you have a rough idle, don’t just buy parts. Use a can of specialized mass airflow sensor cleaner on that delicate wire inside your intake. It’s a five-minute job that can restore 2-3 MPG instantly and is a core part of the ultimate car service guide for modern engines. Give that a shot this weekend and see if your throttle response doesn’t snap right back to life.
The Hardest Lesson I Learned While Chasing a Ghost Under the Hood
After years of wrenching, I’ve realized that the most expensive part is the one you have to buy twice. I used to think I could cheat the system with ‘white box’ parts from the bargain bin, but that’s how I ended up learning how to tell if your car needs a simple tune-up or a major repair the hard way. Precision matters—whether it’s the exact viscosity of your brake fluid or the resistance of a spark plug wire. Another lightbulb moment was realizing that ‘clean’ doesn’t just mean the paint; a clean MAF sensor can save you more money in gas than a trunk full of coupons. Lastly, don’t let brake service myths dictate your safety; if the pedal feels soft, the fluid is likely the culprit, not just the pads.
#IMAGE_PLACEHOLDER_E#
The Essential Tools That Live in My Toolbox
If you’re serious about moving beyond basic oil changes, I highly recommend investing in these three things. First, a Fluke 87V Multimeter—it’s the gold standard for diagnosing electrical ghosts. Second, the book ‘Auto Repair for Dummies’ by Deanna Sclar; ignore the title, it’s a brilliant foundational text for understanding how systems interact. Finally, keep a bidirectional scanner like the Autel MK808 in your kit. These tools turn guesswork into a science and are vital for how regular tune-ups improve fuel efficiency and safety.
Your Garage is Where Confidence is Built
Starting your own repairs can be intimidating, but remember that every master mechanic started with a single stripped bolt and a lot of questions. By taking the time to understand the ‘why’ behind the ‘how,’ you aren’t just saving money; you’re taking ownership of your safety and your car’s longevity. Whether you’re applying a temporary tire sealant or performing a full engine tune up, the attention to detail is what sets you apart. If you ever feel stuck, don’t hesitate to contact us for advice or a professional second opinion. You’ve got this—now get out there and pop the hood.
What’s the one ’emergency’ car repair that ended up being way easier (or harder) than you expected? Let me know in the comments below!