
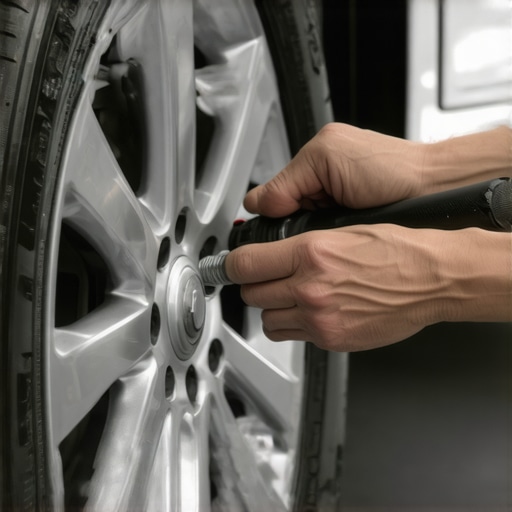
I remember standing on a lug wrench in a drenching rainstorm on the I-40, thinking that ‘tight’ meant ‘until it won’t move another millimeter.’ Then, a sickening snap. I didn’t just have a flat tire anymore; I had a broken wheel stud and a much more expensive problem on my hands. It’s a mistake I see all the time, and honestly, it’s one of those auto repair issues that feels minor until it isn’t. I was twenty, driving an old sedan that had more rust than paint, and I thought my ‘calibrated’ arm was better than any tool. I learned the hard way that guessing the tension on your wheels is a recipe for disaster. Whether you are performing a routine car service checklist or just swapping to your winter set, the tension on those bolts is what keeps your wheels from overtaking you on the highway. We’ve all been there: staring at a tire, wondering if one more grunt of effort is enough or too much. Today, I’m going to show you how to find that sweet spot even when the manufacturer’s manual is long gone.
[image_placeholder]
Too Much Torque Is Just as Bad as a Loose Wheel
In the world of modern auto repair trends, we are seeing lighter materials and much more precise tolerances than ever before. Back in the day, you could get away with ‘tight enough,’ but modern alloy wheels and thin-cast rotors are sensitive beasts. If you over-tighten a bolt, you aren’t just making it extra secure. You are actually stretching the metal of the stud beyond its elastic limit. Once you hit that point, the metal becomes brittle and loses its clamping force. It is a terrifying paradox: the more you tighten it, the more likely it is to fail. According to a study by the National Transportation Safety Board (NTSB), thousands of accidents occur annually due to wheel-end failures, many of which stem from improper installation during a routine service. I once warped a set of expensive rotors because I didn’t use an even pattern or the right pressure, which is a classic brake service myth—the idea that you just keep turning until you can’t anymore. Have you ever felt that sinking feeling when a bolt suddenly turns ‘soft’ while you’re tightening it? That’s the sound of money leaving your wallet.
Does your ‘mechanical feel’ actually keep you safe?
A lot of folks are skeptical about the need for precision. You might think, ‘I’ve been changing tires for twenty years and my wheels haven’t fallen off yet.’ I used to be that guy, too. But then I realized that the reason your brake pedal feels different after a tire change is almost always tied back to how those lug nuts were seated. If one nut is at 100 foot-pounds and the one next to it is at 60, the wheel isn’t sitting flat against the hub. Over time, that tiny oscillation creates heat and vibration that ruins your bearings. Even without a manual, there are specific mechanical cues—like the specific sound of the seat making contact and the resistance of the thread—that can get you safely back on the road. Let’s look at the methods I use to make sure every wheel I touch is as secure as if a factory robot installed it.
Get the Gunk Off Before the Wheel Goes On
Most people throw the wheel back on the hub and start cranking, but that’s where the trouble starts. Think of your wheel hub like a surgical site. If there is rust, grit, or a stray bit of road salt between the rotor and the wheel, you’ll never get a true seal. This is a core part of any expert tune-up strategy. I once helped a neighbor whose car was vibrating like a washing machine on the highway. He’d just swapped his tires and swore he’d tightened them perfectly. When we pulled the wheel, a single flake of thick rust was trapped against the mounting surface. It was acting like a tiny wedge, tilting the wheel just a fraction of a degree. A quick pass with a wire brush to clean those mating surfaces is the difference between a smooth ride and a terrifying wobble. If you are already dealing with a flat, knowing how to patch a tire when you are miles from a shop is great, but it won’t matter if you can’t get the wheel seated flat against the hub.
Stop Tightening Your Bolts in a Circle
This is the most common mistake I see. People tighten the top nut, then the one next to it, and so on. If you do that, you are essentially cocking the wheel to one side. Imagine trying to put a lid on a jar by only pushing down on one edge—the other side is going to pop up. To get the pressure even, you must use a star pattern. If you have five lugs, move in a five-pointed star. For four lugs, go in a cross. This ensures the wheel is pulled toward the car evenly. During any brake system repair, this step is non-negotiable because uneven lug pressure is the leading cause of rotor warping. 
How to Feel the Tension Without a Fancy Tool
If you don’t have a torque wrench, you have to rely on ‘the snug.’ First, get all the nuts finger-tight while the wheel is still in the air. Once the car is lowered just enough that the tire touches the ground and won’t spin, give each nut a firm turn with the lug wrench until it stops moving easily. Now, here is the trick: for a standard passenger car, you want to move that wrench about 1/8th to 1/4th of a turn past that initial ‘snug’ point. Don’t jump on the wrench. Don’t use your full body weight if you’re a grown adult. You are looking for a firm, steady resistance—like trying to open a very tight jar of pickles. This level of care is similar to the proper way to break in new brake pads and rotors; it requires a bit of finesse rather than raw power. If you find yourself grunting and turning red, you have likely gone too far and are risking a snapped stud.
Watch the Steering Wheel for Clues
After you’ve finished the job and hit the road, your car will tell you if you got it right. If you feel a rhythmic shaking in your seat, it’s usually a rear wheel issue. If that shaking is coming through the steering wheel, it’s the front. Sometimes, people mistake a slightly loose wheel for an alignment issue, but you can usually tell if your alignment is off by looking at your steering wheel—an alignment pull is constant, while a loose or unevenly torqued wheel creates a distinct vibration that changes with speed. I always pull over after about twenty miles of driving to do a quick ‘re-torque.’ Metal expands and contracts as it heats up from braking, and that initial settling period is when a slightly loose nut will start to back off. It takes thirty seconds to double-check, and it’s the cheapest insurance policy you’ll ever find.
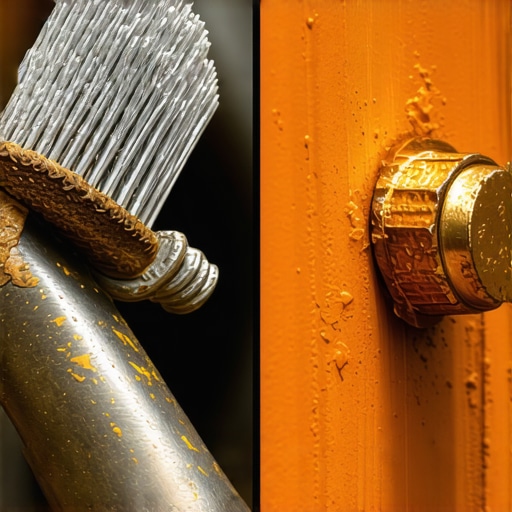
One of the biggest arguments I get into with DIYers—and even some old-school mechanics—is whether to put grease or anti-seize on wheel studs. It sounds like a logical move to prevent rust, but it is actually one of the most dangerous things you can do during a tune-up for peak performance. This is the ‘anti-seize trap.’ When an engineer calculates a torque spec, they are almost always assuming ‘dry’ threads. Lubricating the studs reduces the friction so much that you will over-stretch the bolt before your wrench ever clicks. You might think you’re hitting the safe 80 foot-pounds, but with that slick coating, the actual clamping force could be equivalent to 120 foot-pounds or more. This is a classic brake service myth—the idea that more lubrication always equals a better job. The Tire Industry Association (TIA) specifically warns that applying lubricants to mounting surfaces or threads can lead to bolt fatigue and eventual snapping. Have you ever fallen into this trap? Let me know in the comments.
The Dangerous Myth of Lubricating Your Studs
Beyond just the threads, people often overlook the ‘seat’ of the lug nut. If you have any grease there, the nut can actually vibrate loose because the friction required to keep it locked isn’t there. When you’re following a maximize your cars lifespan with expert tune-up strategies approach, cleanliness beats lubrication every time. If you see rust, use a wire brush, not a spray can. I’ve seen wheels come off in autocross events simply because someone thought they were doing the car a favor by slathering the studs in copper grease. It’s a nuance that separates a hobbyist from someone who truly understands understanding brake system repairs at a professional level.
Does that second click on the wrench actually help?
Many people have a habit of ‘double-clicking’ their torque wrench, thinking they are being extra thorough. In reality, you are likely over-tightening the nut with every subsequent pull. A torque wrench is calibrated to measure friction while the nut is in motion. Once it stops, it takes significantly more force to overcome ‘static friction’ to get it moving again. If you keep clicking, you’re essentially hammering the stud with extra force. This subtle mistake is a primary reason why the reason your brake pedal feels different after a tire change is often a warped hub. If you want to be certain, back the nut off a quarter turn and torque it once more in one smooth, continuous motion. This ensures the reading is accurate without fatiguing the metal.
Avoid the thermal expansion trap
Another high-level mistake involves timing. Metals expand when they are hot. If you’ve just come off a long highway drive and decide to swap your tires immediately, your rotors and hubs are at their maximum expansion. Torquing a wheel to spec while it’s 200 degrees means that as it cools down to ambient temperature, the metal will contract, potentially leaving your lug nuts looser than you intended. It’s the real reason your new brake pads are smoking or smelling—uneven heat dissipation caused by improper clamping during the cooling cycle. If you’re trying to decide how to tell if your car needs a simple tune-up or a major repair, look at the consistency of your wheel hardware. If you find one nut is consistently looser than the others during your 20-mile check, you likely have a stretched stud or a heat-related seating issue. Taking the time to do it right is the cornerstone of the ultimate car service guide for anyone serious about safety.
Why I Finally Tossed My Old Beam Wrench
For years, I relied on a $20 beam-style torque wrench that I bought at a garage sale. I figured as long as the needle pointed to the right number, I was golden. But as I started diving deeper into tune-ups for peak performance, I realized that my tool was about as accurate as a weather forecast in a hurricane. I upgraded to a split-beam click wrench—specifically the Precision Instruments C3R1500—because it doesn’t require you to dial it back to zero after every use. This isn’t just about convenience; it’s about maintaining the spring’s integrity. When you’re trying to achieve expert tune-up strategies, you need a tool that provides a tactile ‘thump’ you can feel through your gloves. Much like learning to test your alternator with a simple multimeter, using a high-quality torque wrench removes the guesswork from your Saturday morning repairs.
How do I keep my precision tools from lying to me?
Even the best tools drift. According to the ISO 6789:2017 standard, which governs the requirements for hand torque tools, these devices should be checked for calibration at least once a year or every 5,000 cycles. If you drop your wrench on a concrete floor, consider its accuracy gone. I treat my torque wrench like a fine instrument, storing it in a padded case far away from my heavy hammers. This level of care ensures that when I’m performing a car service checklist, the numbers I see are the numbers the car actually feels. If you’re serious about long-term results, you should also look for a shop that takes tool maintenance seriously, just as you would check if your local mechanic actually has the tools for a proper ADAS calibration before letting them touch a modern vehicle.
Smart bolts are coming for your toolbox
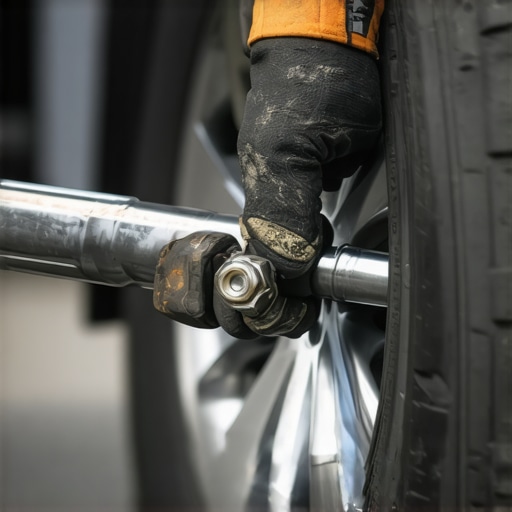
As we look at auto repair trends to watch in 2025, the ‘dumb’ steel bolt is slowly being phased out in high-end performance applications. We are starting to see torque-to-yield bolts with integrated sensors that can communicate directly with a technician’s tablet to confirm they’ve reached the perfect clamping force. In the future, your car might even throw a dashboard warning if a lug nut begins to lose its tension. Until then, the best way to scale your DIY skills is to invest in a digital torque adapter. These little units fit between your ratchet and socket, providing a digital readout and a loud beep when you hit your target. It’s a game-changer for those tight spots where you can’t see the scale on a traditional wrench. Before your next tire rotation, I challenge you to grab a digital adapter and see just how far off your ‘calibrated’ arm really is. You might be surprised at how much safer your ride becomes with just five minutes of precision work.
The Expensive Reality of Guessing Your Wheel Tension
Over the years, I’ve realized that the ‘feel’ we develop as DIYers is often our biggest enemy. I spent a decade thinking I had a calibrated elbow, only to find out I was consistently over-tightening my lug nuts by nearly 40%. This doesn’t just stress the bolts; it leads to troubleshooting common auto repair issues before visiting the shop that could have been avoided entirely. The most important lesson I learned? The re-torque at 25 miles isn’t a suggestion—it’s a requirement. Metal settles, and a bolt that was perfectly tight in your driveway can easily back off after a few heat cycles of highway driving.
Gear That Keeps My Wheels From Flying Off
If you want to move beyond guesswork, you need a few non-negotiables in your garage. First, I recommend a split-beam torque wrench from a reputable brand like Precision Instruments; unlike cheaper clickers, these don’t lose their accuracy if you forget to reset them to zero. Second, a simple stainless steel wire brush is the most underrated tool in any car service checklist because a clean hub is a safe hub. Finally, a digital torque adapter is a fantastic secondary check. Using the right gear is one of those expert tune-up strategies that pays for itself the first time you don’t have to drill out a snapped stud.
#FINAL_IMAGE#
Stop Guessing and Start Driving with Confidence
Mastering the way you secure your wheels is about more than just avoiding a breakdown; it’s about the peace of mind that comes from knowing the job was done right. When you stop relying on ‘good enough’ and start leaning into precision, your entire approach to auto repair changes for the better. You’ll notice the reason your brake pedal feels different after a tire change is often just a matter of how the wheel sits against the rotor. Take that extra five minutes to use a star pattern and a calibrated wrench. Your car, and your passengers, will thank you. Have you ever experienced a strange vibration right after getting new tires installed? Let me know your stories in the comments below!