
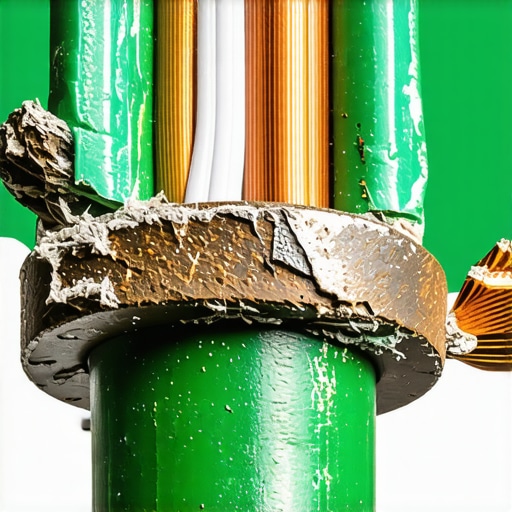
I remember staring at my dashboard at 2 AM, watching my fuel gauge dance to the beat of my turn signals. I had already swapped the battery. I had even replaced the alternator twice, convinced the charging system was the culprit. Every time I hit the brakes, the radio would cut out. It felt like my car was possessed. I was frustrated, broke, and ready to push the thing into a lake. Then, a retired mechanic neighbor walked over, looked at the firewall, and pointed to a single, crusty green wire. “There’s your ghost,” he said. He was right. That one bad ground wire was wreaking havoc on every circuit in the vehicle.
Don’t Let a Rusty Bolt Fool You into Buying a New Alternator
If you are dealing with flickering lights, a car that won’t start despite a full battery, or weird sensor readings, you might think you need a major auto repair. But before you drop hundreds of dollars on parts you don’t need, we have to talk about the backbone of your car’s electrical system: the ground circuit. Every component in your vehicle needs a clear path back to the negative terminal of the battery. When that path gets corroded, loose, or broken, your car starts acting like a science experiment gone wrong. I am going to show you exactly how to identify these symptoms before you waste another dime on a tune up that won’t fix the underlying electrical chaos.
Is it really just a wire or is my expensive computer fried?
This is the fear that keeps most of us up at night. We see a check engine light and immediately assume the ECU is dead. I’ve been there myself—I once almost replaced a perfectly good engine computer because of a false error code caused by nothing more than a loose chassis ground. According to data from the Electrical Apparatus Service Association, a significant majority of electrical failures in complex machinery can be traced back to poor connections rather than the actual failure of the components themselves. That is a massive margin of error that usually works in your favor if you know where to look. You might notice your dashboard dimmer switch makes the lights flicker or perhaps your starter groans like it’s tired even when you know the battery is fresh. These aren’t always signs of a dying part; they are often the desperate screams of a circuit that simply cannot find its way home. Have you ever replaced a part only to have the exact same problem return two days later? It is a soul-crushing feeling, but it is the biggest red flag that you have a ground issue. Let me know in the comments if your car is currently giving you these kinds of headaches.
Hunt for the Green Death Under Your Hood
To get your hands dirty, you first need to hunt for what I call the ‘green death’—that nasty oxidation that eats copper for breakfast. Most people start at the battery, which is fine, but the real culprits are usually where the wires meet the body of the car. Use a car service checklist to locate your primary ground straps. These are usually thick, braided cables or heavy black wires connecting the engine block to the chassis and the battery to the fender. If you see a crusty, greenish-white powder or a wire that looks like it’s been frayed by a cat, you’ve found your primary suspect. I remember working on an old 1998 Ranger where the ground strap looked perfectly fine from the top, but the moment I touched it, the wire literally crumbled into dust in my hand. It was holding on by a single strand of copper. Replacing that $10 cable did more for the truck’s performance than any high-priced tune up ever could. 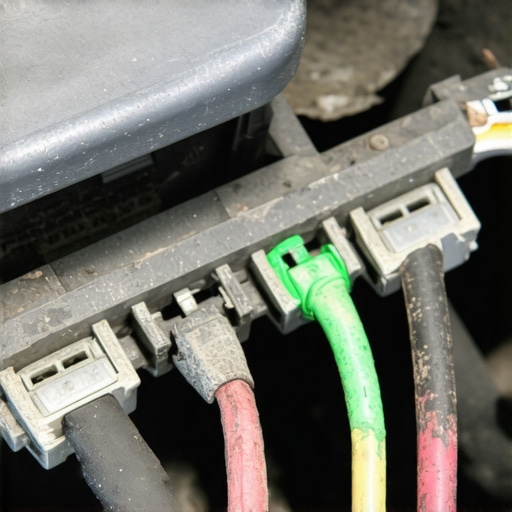
Grab a Multimeter and Stop Playing the Guessing Game
Visual checks are great, but electricity is invisible. To find the resistance your eyes miss, you need a ‘voltage drop test.’ Think of your electrical system like a garden hose. If there is a kink in the hose (a bad ground), the water pressure (voltage) drops after the kink. Set your multimeter to DC volts. Place one probe on the negative battery post and the other on a clean spot on the engine block while the car is running and your headlights are on. Ideally, the screen should show something very low, like 0.05 volts. If it reads 0.50 volts or higher, your ‘hose’ is kinked. This hidden resistance is often how to tell if your computer is giving you a false error code. The computer thinks a sensor is failing, but in reality, the sensor just can’t find a clean path back to the battery.
Why Paint and Rust Are the Enemies of Current
I once spent three hours wrestling with a starter that refused to turn over after a fresh restoration. The owner had painted the entire engine bay a beautiful glossy red. It looked amazing, but paint is an insulator. The ground wire was bolted directly onto a thick layer of paint. No metal-to-metal contact means no current. Before you dive into complex auto repair, check the mounting surface. If you see paint, rust, or grease, you don’t have a circuit.
Clean the Connection the Right Way
To fix this, you don’t need a degree in electrical engineering; you need sandpaper. Disconnect the ground wire and scrub both the lug on the wire and the surface it bolts to until they shine like a new dime. I like to use a small wire brush or 220-grit sandpaper to get through the grime. Once you have bare metal touching bare metal, bolt it back down tight. If you want to be a pro, apply a thin layer of dielectric grease or terminal protector over the finished connection. This doesn’t help the electricity flow—the metal-to-metal contact does that—but it seals out moisture so the ‘green death’ doesn’t come back in six months. This is a foundational step that many people overlook when they are trying to figure out how to replace your own alternator and save hundreds, only to find out the alternator wasn’t the problem at all.But ground wires aren’t the only ‘hidden’ gremlins that make people waste money on unnecessary auto repair. If you’ve ever felt your steering wheel shimmy under braking, you were probably told your rotors are ‘warped.’ I am here to tell you that in nearly twenty years of turning wrenches, I have rarely seen a rotor actually warp under normal driving conditions. This is one of the most persistent brake service myths in the industry. What you are actually feeling is a phenomenon called ‘DTV’ (Disc Thickness Variation), caused by uneven transfer of pad material onto the rotor surface.
Stop Blaming Warped Rotors for Your Shaking Steering Wheel
When you get your brakes too hot and then sit at a stoplight with your foot firmly on the pedal, a tiny ‘patch’ of pad material cooks onto the rotor. This creates a high spot that grabs every time it passes the caliper. According to technical documentation from the Society of Automotive Engineers (SAE), these deposits can eventually transform the cast iron into an incredibly hard substance called cementite, which no amount of resurfacing can truly fix. Most people just throw new parts at the problem, but if you don’t practice the proper way to break in new brake pads and rotors, the vibration will be back within three months. This is the ‘trap’ of the quick pad-slap: if you don’t bed the brakes, you’re just waiting for the next failure. Have you ever fallen into this trap? Let me know in the comments.
Why does my brake pedal still feel like a sponge after three bleeds?
If you have bled your lines until the fluid is clear but the pedal still sinks to the floor, stop looking at the air bubbles and start looking at the hoses. A common nuance that stumps even seasoned DIYers is the ‘collapsed’ internal wall of a rubber brake hose. On the outside, the hose looks perfect. On the inside, the lining has separated, acting like a one-way valve or expanding like a balloon every time you apply pressure. You can easily how to spot a collapsed brake hose in seconds by having a friend pump the brakes while you feel the hose for expansion. 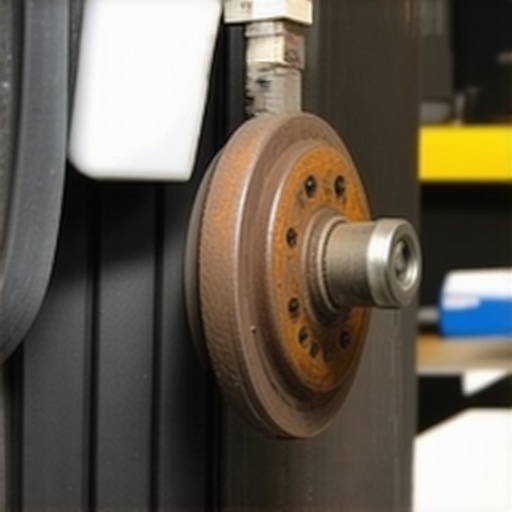
The Critical Hub Cleaning Step Your Mechanic Probably Skipped
Another massive mistake during a car service involves the hub surface. When you put a new rotor onto a hub that has even a paper-thin layer of rust or scale, the rotor sits at a microscopic angle. This is called lateral runout. At the hub, it might only be 0.002 inches, but by the time you get to the edge of the rotor, it is enough to cause a massive shimmy. This is the fix for a soft brake pedal that mechanics keep missing because they are too focused on the hydraulics and not the mechanical geometry. Always use a wire wheel to get that hub back to bare, shiny metal before the new rotor goes on. If you want to dive deeper into the long-term health of your car, checking out tune up your car for peak performance is your next logical step to ensure every system—not just the brakes—is working in harmony.Once you have cleaned those grounds and prepped your hubs, you are ahead of 90% of the DIY crowd. But to truly keep a vehicle out of the shop, you have to move beyond visual checks and start using data. I stopped guessing about engine health the day I invested in a mid-range bi-directional scan tool. While a $20 code reader is fine for clearing a gas cap light, a real tool lets you watch live data streams. You can see your fuel trims in real-time, which is essential for troubleshooting common auto repair issues before visiting the shop. If your long-term fuel trim is creeping up to +10%, you have a vacuum leak or a failing pump long before the check engine light even bothers to wake up. This kind of proactive monitoring is the secret to getting 200,000 miles out of your original engine without a major breakdown.
Stop Throwing Parts at Your Dashboard
I see it constantly: people spend $400 on sensors because a code popped up, only to find the problem was a $5 vacuum hose. According to the Bosch Automotive Handbook, modern oxygen sensors must maintain a precise switching frequency to keep the catalytic converter efficient; however, many ‘lazy’ sensors won’t trigger a code even when they are significantly slowing down your engine’s response time. This is where how regular tune-ups improve fuel efficiency and safety becomes a data-driven process rather than just a parts-swapping hobby. I personally use my scanner to check the ‘readiness monitors’ every few months just to make sure the computer is happy with the catalytic converter and EVAP system. 
How do I keep my car on the road for 200,000 miles?
The answer isn’t a magic additive; it is consistency and the right torque. I cannot stress enough that the proper way to torque wheel bolts without a manual (or with one!) is what prevents those hub issues we discussed earlier. Over-tightening with an impact wrench is the fastest way to stretch studs and distort rotors. Looking forward, I predict that auto repair trends to watch in 2025 will lean heavily into telematics, where your car might actually email you a diagnostic report before you even notice a symptom. We are moving toward a world where ‘predictive maintenance’ replaces the old ‘break-fix’ cycle.
The One Tool You Actually Need in Your Glovebox
Beyond the scanner, my most trusted companion is a simple infrared thermometer. It is the fastest way to find a dragging brake caliper or a clogged radiator. If one wheel hub is 40 degrees hotter than the rest after a drive, you have a sticking piston. This is a level of tune up your car for peak performance that most shops won’t even do unless you pay for a full diagnostic. My challenge to you: next time you finish a drive, walk around your car and safely feel (or scan) your wheels for heat. It is the easiest way to catch a failure before it leaves you stranded. Stay tuned, because next we are going to wrap this all up with a plan to keep your car’s value high while keeping your repair bills low.
The Pricey Mistakes That Taught Me the True Value of DIY Patience
After years under the hood, I’ve realized that the most expensive tool in the shop is the ‘Parts Cannon.’ We’ve all used it—firing new sensors at a problem until it disappears. But real wisdom comes when you realize that understanding brake system repairs isn’t about the parts; it’s about the geometry of the hub and the cleanliness of the wire. I once replaced an entire fuel rail when a $2 O-ring was the culprit. That taught me to verify before I buy. Another big lightbulb moment? Realizing that ‘tight’ isn’t a measurement. Using a torque wrench changed my life because it stopped the cycle of broken bolts and warped components. Finally, never underestimate the power of a simple wire brush. Most ‘dead’ cars I’ve seen were actually just ‘dirty’ cars hiding behind a layer of oxidation.
The Gear That Stops the Guessing and Starts the Fixing
You don’t need a $10,000 tool chest, but you do need three specific items that will save you thousands in car service fees over the life of your vehicle. First, get a high-impedance multimeter. It’s your eyes for the invisible world of electricity. Second, a mid-range bi-directional scan tool. Being able to command a fuel pump to turn on while you’re standing at the tank is a game-changer. Third, I highly recommend ‘The Internal Combustion Engine in Theory and Practice’ by Charles Fayette Taylor if you really want to understand the ‘why’ behind the ‘how.’ I trust these resources because they focus on physics and logic, not marketing fluff. If you ever feel stuck, you can always contact us for advice on navigating a tricky repair.
Your Journey Toward Mechanical Independence Starts Today
Taking control of your vehicle’s health is one of the most empowering things you can do as a driver. Whether you are performing a simple tune up or diving deep into a wiring harness, remember that every master mechanic started exactly where you are: curious and perhaps a little bit frustrated. The goal isn’t just to save money on auto repair; it’s to have the confidence that when you turn that key, you know exactly what’s happening under the hood. Don’t be afraid to get your hands dirty, and don’t be afraid to fail—that’s just the sound of experience being earned. Have you ever spent hours on a fix only to realize it was something incredibly simple like a fuse or a loose bolt? Let me know your biggest ‘face-palm’ moment in the comments below!