
I still remember the Tuesday afternoon my old Toyota sounded like a garbage disposal full of silverware. Every time I touched the brake pedal, a cringe-worthy scrape echoed off the neighborhood houses, making every pedestrian turn their head in judgment. I’d heard the faint squeaking for weeks, but I told myself it was just a bit of morning moisture. Then came the grinding. It wasn’t just a sound anymore; I could feel the gritty vibration through my right foot and the floorboards. It was the sound of money—lots of it—being shaved off my rotors with every stop. If you are hearing that same metallic protest right now, you aren’t alone, but you are at a crossroads. We are going to fix this today before your commute turns into a catastrophe. [image placeholder]
Stop Ignoring That Gritty Metal-on-Metal Sound
Grinding isn’t just an annoyance; it’s a desperate cry for help from your car’s most vital safety system. If you’re hearing it while moving or stopping, you’re likely past the point of a simple tune up and deep into the territory of understanding brake system repairs. Usually, this means your brake pads are completely spent, and the metal backing plate is now chewing into your rotor surface. It’s a visceral, terrifying feeling when your stopping power starts to fade. I’ve been there. In my younger days, I tried to save a few bucks by ignoring a similar noise for an extra month. That ‘thriftiness’ turned what would have been a $50 DIY pad swap into a $600 nightmare involving new calipers and resurfaced rotors. Don’t be like younger me. We’re going to figure out how to stop that noise today before it gets even more expensive. Have you ever tried to ‘wait out’ a car noise only for it to get five times louder the next day? I’d love to hear your story in the comments.
Can’t I Just Wait Until My Next Payday?
I get it. Life is expensive, and car repairs are the ultimate budget killer. But here’s the cold, hard truth: why your brake rotors keep warping or grinding is often tied directly to extreme heat and friction that can lead to total brake failure. According to the National Highway Traffic Safety Administration (NHTSA), brake-related issues are the leading ‘vehicle-related factor’ in crashes, accounting for roughly 22% of such accidents. That’s not just a dry statistic; it’s a warning. While you might be looking for a way to stop your brakes from grinding after it rains, a constant metal-on-metal sound usually means you need immediate action. I found out the hard way that how an honest brake inspection saved me hundreds was by catching the problem before it destroyed my entire wheel assembly. We also have to be careful about the parts we choose; the truth about cheap brake pads and noise is that sometimes saving twenty bucks upfront leads to a lifetime of squealing later. Let’s look at what is actually causing that racket and how we can silence it for good.
Stop the Noise by Finding the Physical Culprit
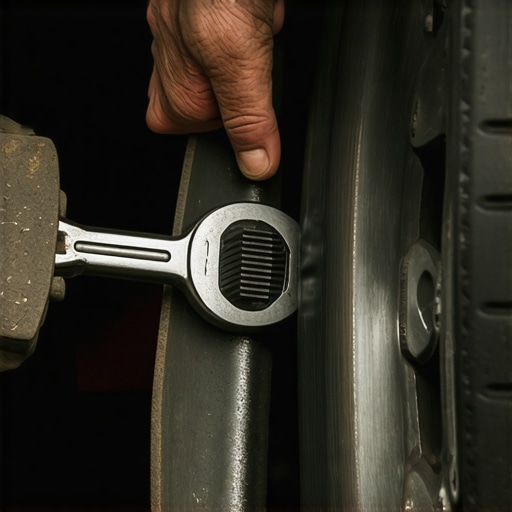
The first step in silencing that metallic scream is getting a visual on the damage. You cannot accurately diagnose a metal-on-metal sound from the driver’s seat. After safely jacking up your vehicle and removing the wheel, peer into the inspection window of the brake caliper. If you see zero material left between the metal backing plate and the rotor, you have found your ghost. It is vital to engage in troubleshooting common auto repair issues before visiting the shop because a technician might suggest a complete overhaul when you may only need a fresh set of hardware. Think of your brakes like a high-stakes sandwich: the rotor is the meat, and the pads are the bread. If the bread is gone, you are just frying the meat directly on the pan, which leads to permanent scarring of the metal surface.
Ensure Your Calipers Aren’t Fighting You
Once you pull the caliper off the mounting bracket, your focus must shift to the slide pins. These small metal rods allow the caliper to move back and forth so both pads apply equal pressure. If these pins do not move freely with a light finger touch, they are seized. I learned this lesson during a messy rainy Saturday when I was in a rush. I threw on new pads in twenty minutes, feeling like a pro, only to have the inner pad wear down to the metal again in less than three weeks. The caliper was stuck, constantly pressing one side against the rotor. I missed the fact that learning how to spot a leaking brake caliper before it fails involves checking for both fluid leaks and mechanical seized parts. Always grease those pins with high-temp silicone paste; skipping this lube is a guaranteed way to invite the grinding noise back for a sequel. This simple step is often ignored in many brake service myths that claim you only need to swap the pads and go.
Put It All Back Together Without Warping Your Rotors
Before sliding the new pads into place, look closely at the rotor surface. If it looks like an old vinyl record with deep, concentric grooves, the metal-on-metal contact has already done its worst. You cannot place flat, new pads on a grooved surface and expect a quiet ride or effective stopping power. This realization is exactly how an honest brake inspection saved me hundreds—it taught me when a rotor can be resurfaced and when it is safer to just buy a new one. Finally, when you are bolting the wheel back on, the way you tighten your lug nuts matters more than you think. Using the correct way to torque lug nuts to prevent rotor warping ensures that your assembly stays flat and true. If you simply blast them on with an impact wrench without a torque wrench, you will likely feel a vibrating pedal pulse within a few hundred miles. Keep a comprehensive car service checklist handy during the process to ensure every bolt is tightened to the manufacturer’s specification. This meticulous approach is the only way to ensure your car stops exactly when you need it to, without the embarrassing soundtrack.
New Pads Alone Won’t Fix a Deep Vibration
I’ve seen it a thousand times: a DIYer spends three hours on a Saturday swapping out hardware, only to have the car pulse and shake the very next day. The common myth is that ‘new parts equal new performance.’ In reality, the truth about cheap brake pads and noise is often overshadowed by poor installation habits. Most people think they can just slap on the parts and drive. But if you don’t clean the hub surface with a wire brush, you’re building a foundation on sand. Even a microscopic bit of rust or debris trapped behind that rotor can cause lateral runout, which is why your brake rotors keep warping every few months despite being brand new. This isn’t just a theory; I once spent a whole afternoon re-doing a job because I was too lazy to wipe down the mounting surface. It’s a nuance that separates a driveway hack from a professional-grade repair.
The Bed-In Secret Most Mechanics Forget to Mention
Let’s talk about the ‘bedding’ process—the secret handshake of the automotive world. If you don’t perform several controlled stops to transfer a layer of pad material to the rotor, you’ll never get the performance you paid for. According to experts at the Car Care Council, neglected maintenance or improper installation—including the failure to properly bed new friction materials—accounts for a massive percentage of premature part failures and customer ‘comebacks’ in professional shops. I once skipped this step on my own project car and ended up with ‘glazed’ pads that felt like wood blocks under my foot. It’s a classic ‘oops’ that turns a weekend win into a frustrating, dangerous redo. 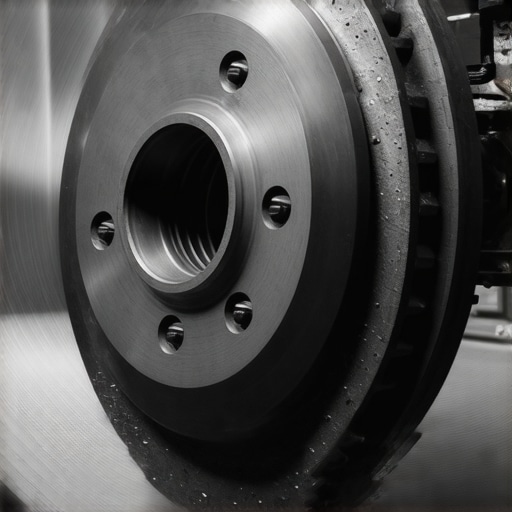
Why do my rear brakes wear out before the front ones?
This is a question I get from seasoned gearheads all the time. Historically, we were taught that front brakes did 70% of the work, so they should wear out first. However, modern Electronic Brake-force Distribution (EBD) systems often engage the rear brakes more aggressively during light stops to prevent ‘nose dive’ and keep the car level. This is the real reason your rear brakes wear faster than fronts on newer vehicles. If you’re following a generic car service checklist from twenty years ago, you’re going to be surprised when your rear pads hit the metal while the fronts still have half their life left. Expertise isn’t just about knowing how to turn a wrench; it’s about understanding brake system repairs from a holistic, modern perspective. Whether you’re doing a simple tune up or a full hub replacement, the nuances of expert tune-up strategies are what keep you safe. Have you ever replaced a part only to have the same noise return a week later? Let me know in the comments—I’ve probably made that same mistake myself and can tell you what went wrong.
Precision Tools That Turned My Driveway into a Pro Shop
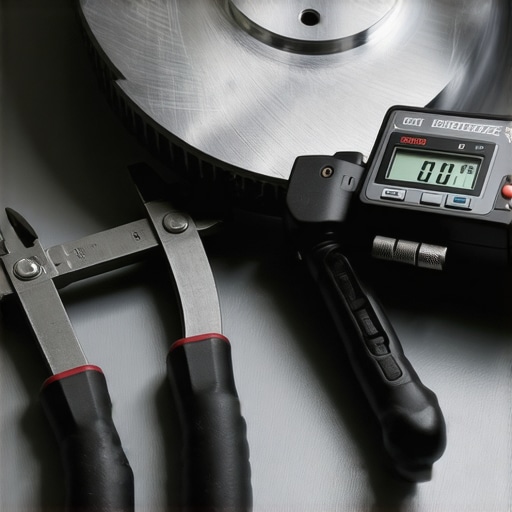
The difference between a brake job that lasts 20,000 miles and one that carries you through 60,000 miles isn’t just the parts; it’s the precision of your equipment. I used to think a standard socket set and a bit of guesswork were enough, but the first time I felt that familiar vibration in my steering wheel, I knew I was wrong. Now, I never touch a lug nut without my calibrated torque wrench. This isn’t just about being picky; it is the primary way to avoid why your car pulses every time you hit the brakes. If you are following the ultimate car service guide when and why to schedule maintenance, you realize that consistency is the key to longevity. I also swear by a digital micrometer. The Friction Materials Standards Institute (FMSI) technical documentation specifies exact ‘discard’ dimensions for every rotor, and if you’re even a fraction of a millimeter below that mark, your heat dissipation is compromised. Using maximize your car’s lifespan with expert tune-up strategies means moving beyond visual checks and actually measuring the metal that stands between you and a highway emergency.
How do I keep my braking system healthy for years?
The secret is a proactive approach rather than a reactive one. Most drivers wait for the screech of the wear indicator before they even think about their wheel wells. Personally, I pull my wheels off every six months to clear out the salt and road grime that causes corrosion. This is a core part of how regular tune-ups improve fuel efficiency and safety. I also perform a full brake fluid flush every two years. Brake fluid is hygroscopic, meaning it absorbs water from the air, which can lead to internal rust in your lines and a ‘spongy’ pedal feel. This level of dedication is the truth about why my car finally hit 200,000 miles without a major mechanical failure. It’s about the small, unglamorous tasks—greasing the slide pins, checking the rubber boots, and ensuring the dust shields aren’t rubbing.
Brace Yourself for the New Era of Electric Braking
As we look at auto repair trends to watch in 2025, the industry is shifting toward ‘Brake-by-Wire’ systems. In these vehicles, your physical foot pressure is translated into an electronic signal that tells a motor how hard to squeeze the pads. This means the mechanical feedback we’ve relied on for decades is changing. We are entering a phase where software updates will be as important as fresh pads for your tune up. However, even with all this new tech, the physics of friction remains the same. If you still have questions about your specific vehicle’s needs, don’t hesitate to contact us for expert advice. This weekend, I challenge you to go beyond the ‘slap-on’ method. Take ten extra minutes to clean your hub surfaces with a wire brush until they shine like a new penny. It’s the single most effective way to ensure your rotors stay true for the life of the vehicle.
Lessons from the Garage Floor That Saved My Sanity
I’ve spent countless hours under wheel wells, and if there’s one thing I’ve learned, it’s that silence is a performance metric. One hard-earned lesson is that cleanliness is next to godliness in the braking world; skipping the wire brush on the hub is the fastest way to feel a pulse in your pedal. Another is that you should never ignore a warning light, just as you should never wait for your oil light to come on before checking your levels. I also realized that while I used to be a ‘cheap parts’ guy, the truth about cheap brake pads and noise is that they almost always cost more in the long run. Finally, always look beyond the friction material—sometimes the sign your master cylinder is giving out slowly is a subtle change in pedal feel that occurs long before the grinding starts.
My Non-Negotiable Gear for a Flawless Setup
If you want to move from being a ‘parts swapper’ to a ‘technician,’ you need the right kit. First, a calibrated torque wrench is your best friend to ensure you’re following the correct way to torque lug nuts to prevent rotor warping. Second, never start without a tub of high-temperature silicone ceramic brake grease—normal grease will simply melt and fail. I also keep a copy of a comprehensive car service checklist tacked to my garage wall to ensure I don’t miss a single clip or boot inspection. These tools turn a stressful afternoon into a satisfying win for your vehicle’s longevity. Use a digital micrometer to verify rotor thickness; it’s a proactive step used in how regular tune-ups improve fuel efficiency and safety.
Take the Wheel and Restore Your Confidence
Fixing that grinding noise is about more than just peace and quiet; it’s about reclaiming the safety and reliability of your ride. Whether you are doing a simple tune up or a deep dive into understanding brake system repairs, taking that first step today prevents a catastrophe tomorrow. You have the knowledge and the strategy now—it’s just time to put it to work. If you find yourself stuck or need a second opinion on a weird vibration, feel free to contact us for guidance. Your car takes care of you, so make sure you’re returning the favor with maximize your car’s lifespan with expert tune-up strategies that really work. Have you ever had a noise that completely stumped you until you took the wheel off? Let me know in the comments below—I’d love to help you troubleshoot!