
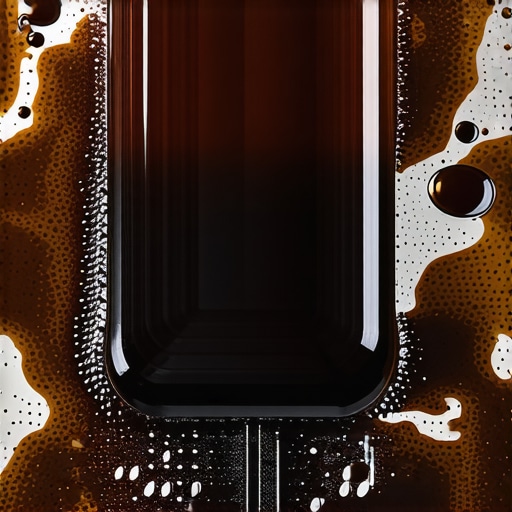
I remember the morning I popped the hood of my old pickup, expecting to see a clear, golden reservoir, but finding something that looked more like a stale double-shot espresso instead. I had been ignoring the slightly mushy feel of my pedal for weeks, assuming I was just imagining things or that it was just part of the car getting older. I was wrong. That murky, coffee-colored sludge wasn’t just old; it was a warning sign that I was about to lose my stopping power entirely. Early in my DIY days, I made the mistake of thinking I could just keep topping it off to fix the problem. I soon realized that I was actually drowning my system in moisture and debris, which is one of the biggest brake service myths that can lead to a very expensive repair bill. Today, we are going to dive into why this happens and how you can fix it before you end up with a pedal that hits the floor. Have you ever peeked inside your reservoir and been shocked by what you found? [IMAGE_PLACEHOLDER]
That Murky Liquid is Actively Eating Your Braking System
Most people don’t realize that brake fluid is hygroscopic, which is just a fancy way of saying it acts like a sponge for moisture. Even in a sealed system, humidity eventually finds its way in through microscopic pores in the hoses and seals. When that water mixes with the fluid, it begins to oxidize the internal metal components of your calipers and lines. This oxidation is exactly why your fluid turns from that pretty honey-yellow to a dark, gritty brown. It is literally the sound of your internal parts rusting away. If you start noticing the sign your master cylinder is giving out slowly, it is often because this dirty fluid has chewed through the delicate rubber seals inside. According to a study by the National Highway Traffic Safety Administration (NHTSA), nearly 20% of vehicles on the road have brake fluid with dangerously high moisture content, which can lower the boiling point of the fluid so much that your brakes could fail during a long descent or a sudden stop.
Is old fluid really as dangerous as mechanics claim?
It is easy to be skeptical when a shop tells you that you need a flush, especially if the car seems to be stopping just fine. You might think it is just a way to pad the bill, but the reality is much more sobering. When that “coffee” fluid gets hot, the water trapped inside turns into steam. Unlike liquid, steam is compressible. When you hit the brakes, instead of pushing the pads against the rotor, you are just squishing steam bubbles. This leads to that terrifying moment where the pedal goes to the floor and nothing happens. Truly understanding brake system repairs means accepting that fluid is a wear item, just like your oil or tires. I learned the hard way that a $100 fluid flush is a whole lot cheaper than replacing a seized ABS control module that got clogged with gunk. We are going to look at the exact steps to get your system back to crystal clear condition.
Suck the Swamp Dry First
To get started, you don’t want to push all that nasty, dark fluid through your lines and into your calipers. That is just asking for a clog. Instead, use a clean turkey baster or a large syringe to suck out as much of the old fluid from the reservoir as possible. Leave just a tiny bit at the bottom so you don’t introduce air into the master cylinder. I remember the first time I did this on my old sedan; I was lazy and skipped this step, thinking it wouldn’t matter. I ended up spending twice as long pumping the pedal because I was trying to force a pint of sludge through a pinhole-sized valve. By clearing the reservoir first, you’re ensuring that only fresh, clean fluid enters the lines. This is a key part of how to maximize your car’s lifespan with expert tune-up strategies because it prevents internal debris from scoring your expensive hydraulic components.
Work from the Farthest Corner
The secret to a perfect flush is the order of operations. You always start at the wheel furthest away from the master cylinder—usually the passenger-side rear—and work your way closer. This ensures you are pushing the air and old fluid out of the longest lines first. While you are back there, it is a great time to look for other issues; for instance, knowing how to check your tie rod ends with minimal tools can help you spot steering play while you already have the wheels off. Once you open that bleeder valve, have a buddy slowly press the brake pedal. You will see a stream of dark, tea-colored liquid exit through your clear vinyl tube. This dark fluid is often the dangerous reason your brake pedal hits the floor when you least expect it, as the moisture content has compromised the fluid’s integrity. 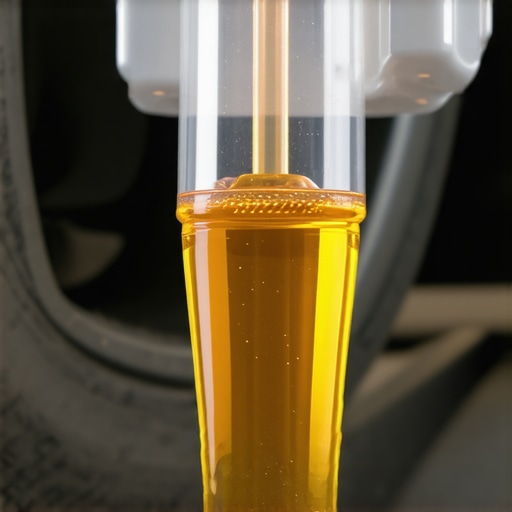
Watch for the Honey Moment
You aren’t finished with a wheel until the fluid running through your tube turns from that murky brown to a bright, transparent honey-yellow. It is a satisfying moment, like seeing the light at the end of a tunnel. If you stop too early, you leave pockets of old, moisture-laden fluid that will immediately begin to contaminate your new batch. I once rushed a job on a friend’s truck and only did a partial flush. Within two months, the fluid was dark again, and he complained about a slight veer. It turns out, uneven fluid quality is often the real reason your car pulls under heavy braking. Taking the extra five minutes to see that clear stream ensures the entire line is protected.
Don’t Let the Reservoir Go Bone Dry
This is the cardinal rule of brake service: never let the master cylinder run out of fluid while you are bleeding the lines. If the level drops too low, it will suck air into the system, and you will have to start the entire process over from scratch—or worse, bench-bleed the master cylinder. Think of it like a straw in a glass of water; once you hit the bottom, you just get bubbles. I usually top off the reservoir after every 5 to 10 pumps of the pedal just to be safe. Keeping the system sealed and full is a vital part of any tune-up your car for peak performance routine. By maintaining a constant flow of fresh fluid, you are washing away the metallic microscopic grit that acts like sandpaper on your piston seals.
While the color of your fluid is a great visual indicator, it’s not the whole story. I see a lot of DIYers and even some shops make the mistake of thinking clear fluid means a healthy system. This is a common trap because the real villain in your braking system isn’t just dirt; it’s dissolved copper. As the internal additives in your brake fluid deplete, the fluid becomes corrosive and begins to strip copper from the inner lining of your brake lines. Research by the Motorist Assurance Program (MAP) suggests that even clear fluid can be chemically compromised by dissolved copper levels exceeding 200 ppm (parts per million), which is a precursor to galvanic corrosion in your expensive ABS valves. Getting how an honest brake inspection saved me hundreds often comes down to finding a technician who actually tests the chemical health of the fluid rather than just glancing at the reservoir.
Petroleum Grease is Your Brake Seals’ Worst Enemy
One of the biggest ‘oops’ moments I encountered early on was using a generic chassis grease on my caliper slide pins. It seemed logical—grease is grease, right? Wrong. Most standard greases are petroleum-based, and petroleum causes the EPDM rubber boots and seals in your braking system to swell and disintegrate. When those boots swell, they trap the slider pins, leading to uneven pad wear and sticking calipers. I’ve seen people blame the truth about cheap brake pads and noise when the real culprit was actually a seized pin caused by the wrong lubricant. Always use a dedicated high-temp silicone or ceramic-based brake lubricant to keep those pins floating freely. Have you ever fallen into this trap of using the wrong grease? Let me know in the comments below.
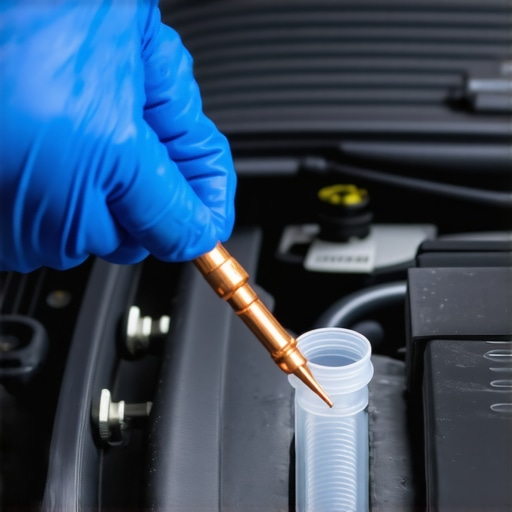
Does your ABS module require a scan tool for a full flush?
This is the question that separates the driveway enthusiasts from the pros. On many modern vehicles, the ABS (Anti-lock Braking System) contains internal chambers and solenoids that stay closed during a traditional manual bleed. If you have introduced air into the system—perhaps by letting the reservoir run dry as we discussed earlier—a standard pedal-pumping bleed won’t get the air out of those tiny ABS valves. You might think you’ve finished troubleshooting common auto repair issues before visiting the shop, only to find the pedal still feels slightly spongy. In these cases, you need a bidirectional scan tool to trigger the ‘ABS Autobleed’ function, which cycles the pumps and valves to push air into the main lines where it can be bled out. If you are noticing auto repair trends to watch in 2025, you’ll see more DIY-friendly scan tools becoming available for this exact reason.
Avoid the Snapped Bleeder Valve Nightmare
Finally, never underestimate the power of rust on those tiny bleeder screws. I once snapped a bleeder off a perfectly good caliper because I was in a rush and used a standard 12-point wrench. If the screw feels seized, hit it with a dedicated penetrant and use a 6-point socket to distribute the pressure evenly. Once you’ve successfully flushed the system, don’t forget the final step: torquing your wheels back on correctly. Understanding the correct way to torque lug nuts to prevent rotor warping is the literal ‘capstone’ to a professional-grade brake service. A little patience now prevents a massive headache (and a broken caliper) ten minutes later.
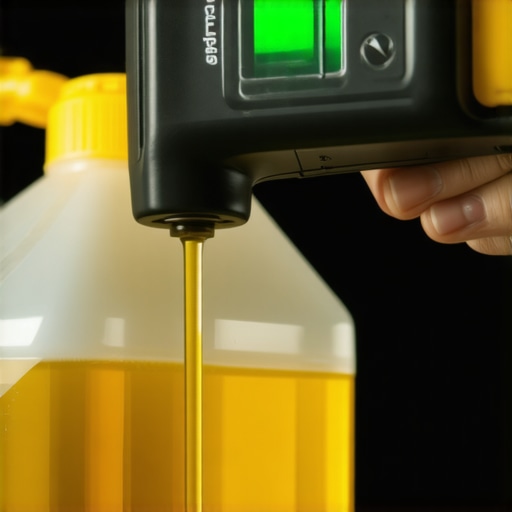
If you really want to move past the amateur hour of ‘pump-and-hold,’ it is time to talk about the one tool that changed my life: the pressure bleeder. I personally swear by the Motive Products Power Bleeder because it turns a two-person job into a solo mission that is actually more effective. Instead of relying on your buddy to perfectly time their foot movements, this tank applies a constant, regulated 10-15 psi directly to the master cylinder. It pushes fluid through the lines with a steady pressure that prevents the formation of those tiny micro-bubbles that a vibrating foot can sometimes create. Integrating this into your car service checklist not only saves time but ensures the most consistent pedal feel possible.
How do I keep my brakes performing like new for years?
Maintenance isn’t a one-and-done event; it’s a cycle. To truly maximize your car’s lifespan with expert tune-up strategies, you need to commit to a fluid flush every two years, regardless of mileage. This is because moisture absorption is time-based, not distance-based. I also recommend picking up a $20 digital fluid tester. These little pens measure the conductivity of the fluid to estimate moisture content. According to the Bosch Automotive Handbook, using a low-viscosity (LV) brake fluid like DOT 4 LV is increasingly critical for vehicles with Electronic Stability Programs (ESP), as the thinner fluid allows the ABS valves to react milliseconds faster in freezing temperatures. If you want to learn how to save 500 on your next major service, doing these preventative flushes yourself is the easiest way to avoid replacing a $1,200 ABS modulator down the road.
What happens to braking as cars go electric?
We are entering a weird era for brake maintenance. With the rise of regenerative braking, your mechanical brake pads might actually last 100,000 miles because the electric motor is doing most of the slowing down. However, this creates a new problem: the hydraulic fluid still ages, and the calipers might seize simply from lack of use. Staying informed on auto repair trends to watch in 2025 means realizing that even if your pads look thick, your fluid is still a ticking clock. Following the ultimate car service guide will be more important than ever to ensure those rarely used mechanical parts still work when you need to make an emergency stop. I challenge you to go out this weekend, pop that hood, and use a digital tester to see exactly what percentage of water is currently sitting in your lines—it is the most authoritative way to know if you are truly safe.
The Hard-Learned Lessons from My Garage Floor
Over the years, I have realized that the most dangerous car problems are the ones that happen quietly. You won’t always hear a squeal or feel a vibration when your fluid is dying. One of my biggest lightbulb moments was realizing that internal corrosion is invisible. I once had a caliper freeze up not because of salt or road grime, but because the fluid inside had turned into an acidic sludge that ate the piston from the inside out. I also learned that if you feel even a 1% difference in pedal travel, it’s not your imagination—it is physics telling you there is a problem. By staying on top of these small changes, I discovered the truth about why my car finally hit 200,000 miles without a major hydraulic failure. This isn’t just about maintenance; it is about having absolute confidence every time you approach a red light.
My Go-To Gear for a Flawless Bleed
If you are tired of the ‘pump-and-scream’ method with a helper, these are the tools that changed my workflow. First, the Motive Products Power Bleeder is non-negotiable for me now; it turns a stressful afternoon into a twenty-minute breeze. Second, I always keep a digital brake fluid tester in my glovebox. It is a cheap way to verify if moisture has actually crept in before I spend money on fluid. Finally, I stick to Bosch DOT 4 LV because its lower viscosity is better for the rapid-fire pulsing of modern ABS systems. Investing in these basics is a core part of how to save 500 on your next major service by doing the expert-level work in your own driveway.
#IMAGE_PLACEHOLDER_E#
Stop Waiting for the Pedal to Fail
There is a unique kind of peace that comes from knowing your braking system is filled with fresh, honey-colored fluid. You don’t have to be a master technician to keep your family safe; you just have to be observant and proactive. Whether you are following the ultimate car service guide or just doing a quick weekend check, remember that every pump of that pedal relies on the chemistry of that liquid. A proper brake service is the best insurance policy you can buy for your vehicle. So, grab a wrench, check that reservoir, and take control of your car’s health today. Have you ever had a bleeder valve snap off on you, or do you have a trick for keeping them loose? Let me know in the comments below!