
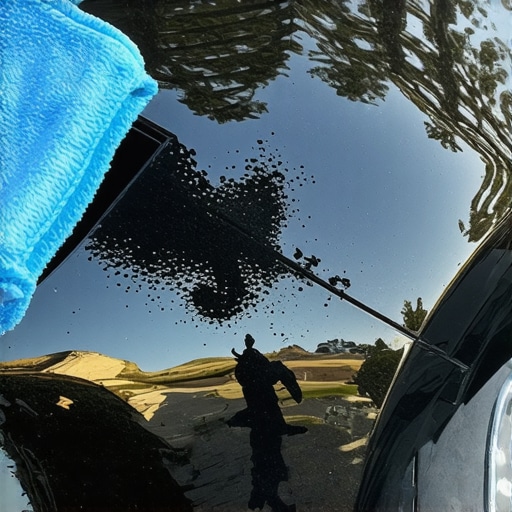
I remember the heat of that August afternoon like it was yesterday. I had just finished detailing my silver sedan, feeling proud of that glass-like shine, when I hit a patch of fresh chip seal on a backroad. By the time I got home, the lower panels looked like they had been peppered by a shotgun filled with black ink. My heart sank. I tried the high-pressure wand at the car wash, but those little black pebbles did not budge. In a moment of pure frustration—and this is the part where I want you to learn from my stupidity—I grabbed a green scouring pad from under the kitchen sink. I figured a little elbow grease would not hurt. I was wrong. In thirty seconds, I had traded a few tar spots for a massive, cloudy patch of ruined clear coat that cost me 400 dollars to fix. Don’t be like me.
Why Most People Ruin Their Paint Within Five Minutes
Removing road tar is not about muscle; it is about chemistry. When you see those stubborn black specks, your first instinct is to scrub. But road tar is essentially a petroleum-based glue. According to Popular Mechanics, road tar is a complex mixture of hydrocarbons that becomes more difficult to remove the longer it sits in the sun and oxidizes. If you try to force it off mechanically, you are just dragging abrasive road grit across your beautiful paint. It is the same logic I use when I talk about why you should schedule regular car maintenance—you have to address the small things correctly before they become expensive nightmares. I have seen neighbors try everything from gasoline to fingernail polish remover, and while those might melt the tar, they will also melt your car’s protective finish. You need a strategy that breaks the bond without breaking the bank or the paint. Have you ever looked at your wheel wells after a summer road trip and felt that immediate sense of dread?
Does this actually work on old, baked-on gunk?
You might be skeptical if those black spots have been hitching a ride on your car for six months. I get it. The longer tar sits, the more it hardens into a plastic-like shell. However, the secret is not a stronger chemical; it is patience and the right dwell time. Much like how a proper tune-up strategy focuses on longevity rather than a quick fix, paint decontamination is about letting the product do the heavy lifting. In my early days, I thought stronger was better, but I quickly realized that a gentle solvent used correctly is ten times safer than a pro-strength acid that eats through your wax. We are going to walk through the exact steps I use now—the ones that keep my daily driver looking like it just rolled off the lot without me having to spend hours on my knees scrubbing. It starts with understanding what you are up against, much like how cleaning wheels without ruining the coating requires a specific touch for different finishes. Let us get into the nitty-gritty of the neighborly way to save your paint.
Pick a Solvent That Wont Eat Your Clear Coat
The first rule of paint decontamination is to stop thinking about scrubbing and start thinking about dissolving. You need a dedicated tar remover or a high-quality citrus-based solvent. I’ve found that using the wrong chemical is just as dangerous as ignoring common auto repair issues before visiting the shop; it might look fine for a second, but the long-term damage is lurking. If you are in a pinch, WD-40 or even a bit of odorless mineral spirits can work, but you must be surgical. I remember helping a friend with his old truck—he wanted to use brake cleaner because it was ‘fast.’ I had to physically take the can out of his hand. Brake cleaner is great for metal, but it will strip your wax and potentially soften your clear coat faster than you can say ‘oops.’ Stick to products designed for automotive finishes. It is much like how a simple tune-up fixed my mystery hesitation—using the right tool for the specific job makes all the difference.
Let the Chemical Do the Heavy Lifting
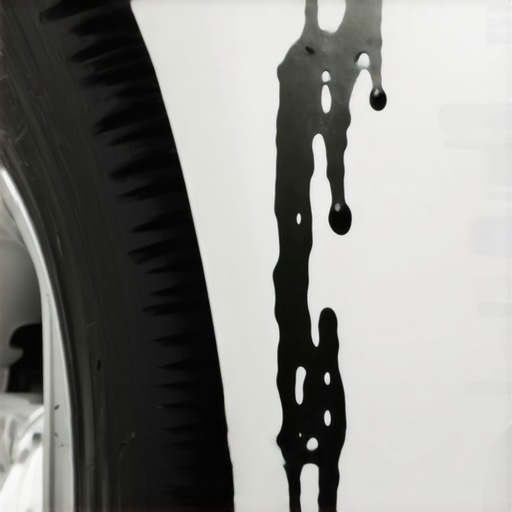
Once you have your solvent, the biggest mistake is rushing. Spray the affected area generously and then walk away for three to five minutes. This is called ‘dwell time.’ Think of it like soaking a burnt lasagna pan; the water does the work so you don’t have to. During this phase, you will actually see the black tar start to ‘bleed’ or run down the side of the car in brown streaks. This is a good sign—it means the petroleum bonds are breaking. If you try to wipe it while it is still solid, you are essentially rubbing sandpaper on your car. I learned this the hard way on a black sedan a few years ago. I was impatient and ended up creating swirl marks that took a machine polisher hours to buff out. It is similar to how the secret to a shudder-free stop involves the right material contact, not just raw pressure.
The Art of the Gentle Wipe Down
After the tar has softened, take a clean, high-gsm microfiber towel. Do not use a circular motion. Instead, use a single-direction swipe. If you scrub back and forth, you are just grinding any trapped dirt back into the paint. If the tar doesn’t come off with a light touch, stop. Re-apply the solvent and wait again. It’s a game of patience, much like how to fix a squealing belt using the water spray test—you are looking for a specific reaction before you take action. I once spent an entire Saturday afternoon on a single quarter panel because the tar was so thick it required three separate soakings. My back ached, but when that last spot finally slid off without a scratch, the satisfaction was better than a new car smell.
Seal the Deal to Prevent Future Sticking
Once the tar is gone, your paint is naked. Solvents don’t just kill tar; they kill your wax and sealant too. If you leave the paint bare, the next batch of road grime will bond even tighter. You need to wash the area with car soap to neutralize the solvent and then apply a fresh coat of high-quality wax or a ceramic topper. Keeping up with this is an essential part of any car service checklist to maintain your vehicle’s value. A well-protected surface makes the next round of tar removal 90% easier because the gunk can’t find a foothold on the slick surface. It’s all about creating a barrier, just like how you protect your engine from internal wear with the right oil.
Stop Blaming the Metal for Your Shaking Steering Wheel
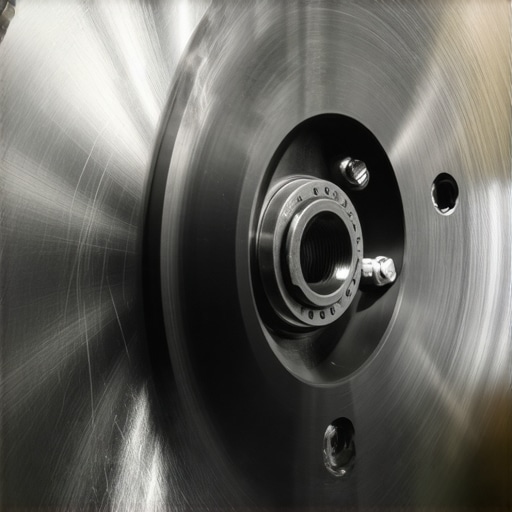
Everyone tells you that those steering wheel vibrations mean you’ve ‘warped’ your rotors. In my years under the hood, I’ve found that actual metal warping is incredibly rare. Instead, what you’re feeling is usually uneven brake pad deposition. This happens when the pads get too hot and leave a ‘smear’ of friction material on the rotor surface. According to the experts at StopTech, what most mechanics call a warped rotor is actually just an uneven transfer layer that creates variations in thickness. If you don’t use the simple way to bed in new brake pads, you’re almost guaranteed to feel that shudder within a few months. This is exactly why your brake rotors keep warping every few months despite you buying the ‘premium’ stuff. Stop throwing parts at the problem and start looking at how you drive and bed them in.
Why do your rear brake pads wear out before the fronts?
On older cars, the front brakes did 70% of the work. But modern vehicles use Electronic Brake-force Distribution (EBD) to help keep the car level during light stops. This system nibbles away at the rear pads to prevent ‘nose dive’ and improve stability. It’s the real reason your rear brakes wear faster than fronts on that new SUV of yours. If you’re used to a maintenance schedule from the 1990s, this will catch you off guard and potentially lead to metal-on-metal damage before you even hear a squeal. This subtle shift in engineering is why a generic car service checklist isn’t always enough; you need to know the specific quirks of your car’s generation.
Don’t Let Water Turn Your Brake Fluid Into Mush
Here is the ‘oops’ factor that ruins more systems than anything else: moisture. Brake fluid is hygroscopic, meaning it literally sucks water out of the air. Even if your pads look thick, if that fluid is dark, it’s compromised. When you hit the brakes hard, that water turns to steam, and suddenly you have a spongy pedal. This is a crucial part of understanding brake system repairs that goes beyond just swapping hardware. To truly maximize your car’s lifespan with expert tune-up strategies, you need to test the copper content and moisture levels in your fluid every two years. If you’re unsure how your system is holding up, troubleshooting common auto repair issues before visiting the shop can save you a fortune in labor costs. If you need a second pair of eyes on a mystery sound or a weird pedal feel, feel free to contact us and we’ll point you in the right direction. Have you ever fallen into this trap? Let me know in the comments.
The One Tool I Refuse to Work Without
For years, I relied on my ears to tell me what was wrong with an engine. I thought a rhythmic tick or a slight stumble was enough to go on, but modern cars are essentially rolling supercomputers. Now, I won’t even pop the hood without my Bluetooth OBDII scanner. I personally use a Foxwell unit because it gives me live data streams—not just generic codes. Using a high-quality scanner is how professional diagnostics found my ghost electrical leak when three different mechanics just suggested I buy a new battery. Being able to see exactly what the oxygen sensors are doing in real-time allows you to check your tie rod ends with minimal tools or verify a misfire without playing the expensive ‘parts cannon’ game. If you are serious about DIY, skip the 20-dollar cheapies and get something that can read manufacturer-specific PIDs.

How can I keep my car running like new for a decade?
Maintenance scaling is the difference between a car that survives and a car that thrives. It is about moving from a reactive mindset to a predictive one. I have a neighbor whose truck has 310,000 miles on it, and it still sounds like it just left the showroom. His secret isn’t magic; it is consistency. He treats his scheduled car maintenance like a doctor’s appointment for his child. I’ve adopted this same philosophy, which is the truth about why my car finally hit 200000 miles without a single transmission rebuild. You have to look at the fluids as the lifeblood of the machine. According to SAE International’s technical standard J1703, the safety margin of your brakes depends entirely on the fluid’s equilibrium reflux boiling point, which drops significantly as it absorbs water. This is why I am so adamant that you should maximize your car’s lifespan with expert tune-up strategies that include fluid testing, not just fluid replacing.
Get Ready for the Digital Shift Coming in 2025
As we look forward, the way we maintain our vehicles is changing faster than most people realize. We are entering an era of telematics where your car might book its own appointment before you even feel a vibration. Staying on top of auto repair trends to watch in 2025 means understanding that ‘mechanical’ problems are increasingly becoming ‘software’ problems. Even things as simple as fuel economy are being optimized by algorithms. I’ve seen how regular tune-ups improve fuel efficiency and safety by simply recalibrating the throttle body rather than replacing hardware. Don’t be intimidated by the tech; embrace it. I’ve personally vowed that why I will never skip a transmission fluid change again is because I’ve seen the data on how heat destroys these complex electronic solenoids. My challenge to you: Go out this weekend and perform the 5-minute check to prevent transmission failure—it is the best investment you can make in your car’s future.
Hard Lessons Every DIYer Learns the Expensive Way
Over the years, I have realized that the most expensive part of car maintenance isn’t the oil or the parts; it is the impatience. I used to think I could out-scrub road tar or out-guess a computer, but the machine always wins. First, I learned that a clean car is a healthy car; when you take the time to remove contaminants, you often find those tiny leaks or learn how to identify a failing fuel pump before it fails. Second, never trust your gut over a data stream. Using a scanner to verify a fault before buying parts is the difference between a successful Saturday and a wasted paycheck. Finally, remember that every system is connected. A simple task like following a car service checklist prevents the cascading failures that turn a reliable daily driver into a lawn ornament.
Must-Have Tools for a Lifetime of Reliability
I do not believe in buying every gadget on the shelf, but there are four things I never work without. First is a high-quality OBDII scanner. It is your car’s voice, and listening to it is the only way to tune up your car for peak performance. Second, a dedicated brake fluid tester is non-negotiable; do not guess about moisture levels when your stopping power is on the line. Third, I always keep a bottle of citrus-based solvent and a stack of high-gsm microfibers for paint care. It keeps the finish slick and protected. Lastly, I rely on the facts found in brake service myths to guide my mechanical decisions, ensuring I am working with data, not garage rumors.
Drive with Confidence Every Single Day
At the end of the day, your car is an investment in your freedom and your safety. Taking the time to properly clean, inspect, and maintain it isn’t just about aesthetics; it is about peace of mind. Whether you are scrubbing away road tar or performing a complex brake job, the pride of doing it right the first time is unmatched. By mastering these small tasks, you ensure that your car service routine is a source of satisfaction rather than stress. Your car works hard for you; give it the attention it deserves and it will return the favor for hundreds of thousands of miles. Have you ever had a simple cleaning task turn into a major discovery about your car’s health? Let me know in the comments below!