
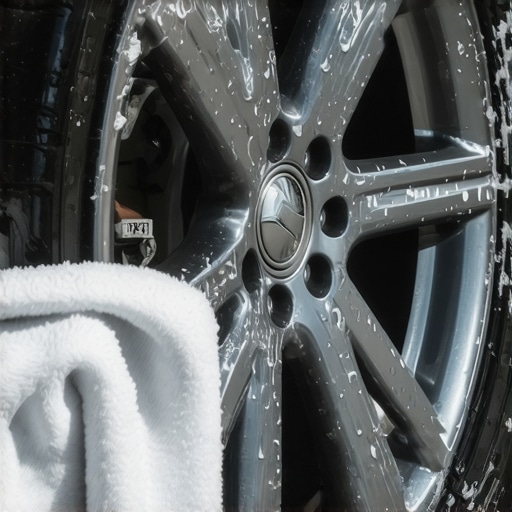
I still remember the sinking feeling in my gut when I walked out to my driveway three years ago. I’d spent the previous afternoon deep cleaning my sedan, feeling like a total pro. But as the morning sun hit my alloy wheels, I didn’t see a mirror finish. I saw white, cloudy streaks that wouldn’t rub off. I had used a harsh, acid-based wheel brightener on a warm rim, and in five minutes of laziness, I’d eaten right through the clear coat. It was a $400 mistake that taught me more about chemical reactions than I ever wanted to know. Most of us are treating our wheels like they’re made of cast iron pans, when they’re actually closer to fine jewelry. Whether you have powder-coated, painted, or diamond-cut wheels, that thin protective layer is your only line of defense. Today, I’m going to share exactly how I keep my rims looking brand new without risking a similar disaster.
Stop Using Acid to Solve a Dirt Problem
We all want that gleaming, factory-fresh look, especially after following a car service checklist to keep the rest of the vehicle in top shape. But here is the hard truth: most off-the-shelf cleaners are far too aggressive for modern coatings. If you’ve ever noticed your brake pedal squeaks or your wheels seem to get dirty five minutes after a wash, you’re dealing with the constant bombardment of brake dust. But using heavy-duty chemicals to strip that dust also strips the integrity of your wheel’s finish. When I started out, I thought stronger was better. I was wrong. The key isn’t strength; it’s using pH-neutral formulas that lift the iron particles without etching the paint. Have you ever noticed your wheels looking dull or stained after a car wash? I’d love to hear your horror stories in the comments below.
Are these specialized cleaners just a marketing gimmick?
It is easy to be skeptical and think that plain soap and water should do the trick for any auto repair or maintenance task. However, brake dust is surprisingly hostile. According to technical reports from AAA, brake dust consists of a nasty mix of carbon fibers and tiny metal shavings that can literally weld themselves to your rims through high-heat friction. Regular soap often can’t break that bond, but the wrong cleaner will destroy the clear coat trying. You need a solution that specifically targets iron contamination while leaving the delicate coating untouched.
Why Your Brake Pads are Your Rims’ Worst Enemy
The grit on your wheels isn’t just road grime; it is mostly shredded metal. Every time you slow down, your pads grind against the rotors. This friction creates a cloud of hot, jagged particles that love to bake onto your finish. If you’ve recently had to bed in new brake pads, you know how much heat that system generates. Many people ignore this until they see permanent pitting, but even if you are careful to maximize your car’s lifespan with mechanical work, neglecting the exterior finish of your wheels can tank your resale value faster than a check engine light. Your wheel coating is there to keep that hot dust from pitting the aluminum underneath, but it needs a gentle touch to survive the cleaning process.
Stop the Sizzle Before You Ever Reach for the Hose
The biggest mistake most DIYers make is starting the wash while the wheels are still radiating heat. Think of your rims like a cast-iron skillet; if you throw cold water or chemicals onto a piping-hot surface, you risk thermal shock or, more commonly, causing the cleaner to flash-dry and etch the finish instantly. I learned this the hard way on a humid July afternoon. I sprayed a high-end cleaner onto my front rims right after a long drive, and before I could even grab my brush, the liquid had evaporated into a white, crusty film that took three stages of polishing to remove. Now, I always perform the ‘hand test’—if the wheel is too hot to touch comfortably, it is too hot to clean. This patience is a vital part of any car service routine, much like following a the ultimate car service guide to ensure you aren’t rushing critical maintenance steps.
Let the Chemicals Do the Grunt Work
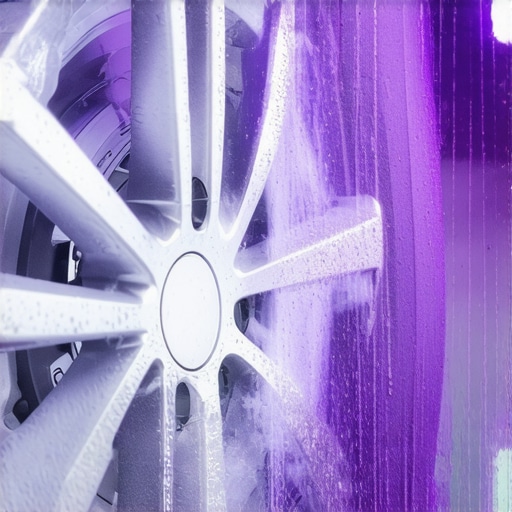
Once the wheels are cool, you want to apply a dedicated, pH-neutral iron remover. This isn’t just about soap; it’s about a chemical reaction. These cleaners are designed to turn purple or red as they interact with the iron particles embedded in your clear coat. It is incredibly satisfying to watch, but it also serves a functional purpose by liquefying the grit that causes permanent pitting. If you’ve recently had to bed in new brake pads, your wheels will likely be covered in an extra layer of this metallic dust. Spray the cleaner liberally, ensuring you hit the barrels of the wheels and the brake calipers, but don’t let it dry. If your brake fluid looks like coffee creamer or you see other signs of neglected maintenance, cleaning the exterior of the braking system can also help you spot leaks or cracks more easily during your inspection.
Why Agitation Beats Pressure Every Time
Many people think a high-pressure nozzle is enough to blast away the grime, but brake dust is stubborn. You need to mechanically agitate the surface. I use a two-brush system: a soft boar’s hair brush for the delicate faces and a long-handled ‘wheel woolie’ for the inner barrels. I remember helping a buddy clean his truck after he’d skipped his car service checklist for six months. The dust was so thick we had to go through three rounds of agitation. Using a soft touch is essential; you aren’t scrubbing a deck, you’re massaging away contaminants. If you use a stiff nylon brush, you’ll leave micro-scratches that eventually dull the shine, making your wheels look aged and worn despite your best efforts to maximize your car’s lifespan.
The Final Rinse and the Secret to a Spotless Finish
After agitating, rinse the wheel thoroughly from the top down, making sure to flush out the lug nut holes and the crevices of the calipers. The secret to a professional look, however, isn’t the wash—it’s the dry. Standing water on a wheel will lead to unsightly water spots that are nearly impossible to remove without abrasive polish. I use a dedicated microfiber towel or even a small leaf blower to get every drop out of the beads. This attention to detail is what separates a standard wash from a true enthusiast’s level of care. It ensures that your wheels don’t just look clean for ten minutes, but maintain that factory crispness until your next drive.
Why Swapping Parts Isn’t Always the Answer
Most DIYers and even some chain shops believe that a brake job is a simple ‘remove and replace’ procedure. You pull the old pads, slap on some new ones, and call it a day. But in my years under the hood, I’ve found that the real culprit behind poor stopping power and ruined wheel finishes is often the hardware, not the friction material. If you don’t clean and lubricate the slide pins, your new pads will drag, creating excessive heat and that dreaded brake dust I mentioned earlier. You might think you’re saving money, but checking out these brake service myths reveals that ‘pad-slapping’ is the fastest way to warp your rotors. Have you ever fallen into this trap? Let me know in the comments.
Does Your Mechanic Check the Sliders or Just the Pads?
When you take your car in for a car service, the focus is usually on thickness. But a thick pad can still be a dangerous pad if the caliper isn’t floating freely. Advanced diagnostics involve checking for uneven wear across the inner and outer pads. If one is paper-thin and the other looks new, your caliper is stuck. This is a nuance often skipped during a standard auto repair. According to reports from the Car Care Council, neglected brake hardware is a leading cause of premature system failure, costing drivers hundreds in unnecessary rotor replacements. To truly tune up your car for peak performance, you have to look at the mechanical synergy of the whole corner, not just the consumable parts.
The Invisible Trap Hidden Inside Your Brake Lines
Here is something even seasoned enthusiasts miss: the internal collapse of a brake hose. On the outside, the hose looks perfect—no cracks, no leaks. But internally, the rubber can delaminate and act like a one-way check valve. It lets fluid reach the caliper when you hit the pedal, but it won’t let it return. This keeps the brakes partially applied, roasting your beautiful rims and boiling your fluid until your soft brake pedal becomes a safety hazard. If you’ve struggled with a car that pulls to one side, you need to learn how to spot a collapsed brake hose in seconds before you start throwing expensive parts at the problem.
Why the Master Cylinder Is the Ghost in the Machine
Sometimes, the problem isn’t at the wheels at all. I once spent three days chasing a ‘spongy’ feel on a client’s truck, only to realize the master cylinder was failing internally. There were no leaks on the driveway, but the fluid was bypassing the internal seals every time the driver applied pressure. This is a classic ‘oops’ factor for many home mechanics who assume air is in the lines and bleed the brakes until they’re blue in the face. Knowing how to tell if your master cylinder is failing internally can save you hours of frustration. It’s these deeper technical layers that separate a simple wash-and-wax from a truly maintained vehicle. If you’re ever in doubt, reaching out through a contact us page for a professional second opinion is better than gambling with your stopping distance.
Why a Cheap Torque Wrench is Actually More Dangerous Than None
When it comes to car service, I used to think ‘hand-tight’ was a universal measurement. I was wrong. If you want to maximize your car’s lifespan, you have to stop guessing on your lug nuts and caliper bolts. Uneven pressure across a wheel hub is the number one cause of rotor warping. I personally use a split-beam torque wrench because, unlike the cheaper click-type versions, you don’t have to dial it back to zero after every use to maintain calibration. According to the ISO 6789 technical standard for assembly tools, a tool out of calibration by even 10% can lead to fastener fatigue. This isn’t just about the wheel falling off; it’s about ensuring that your brake rotors don’t develop the high spots that cause a pulsating pedal. If you are tired of troubleshooting common auto repair issues like steering wheel shakes, start with a high-quality torque wrench.
How do I maintain my braking performance over several years?
Consistency is more important than intensity. Most people wait for a noise before they act, but a proactive tune up involves checking your brake fluid moisture content every spring. Brake fluid is hygroscopic, meaning it absorbs water from the air. Over time, this water lowers the boiling point of the fluid and corrodes your internal lines. I use a dedicated electronic fluid tester—not just the visual ‘coffee creamer’ test. Staying ahead of this curve is a vital part of the ultimate car service guide because it prevents the expensive failure of the ABS pump. When you consistently follow these steps, you’ll find that how regular tune-ups improve fuel efficiency and safety becomes a reality rather than just a marketing slogan.
The Digital Side of a Modern Tune Up
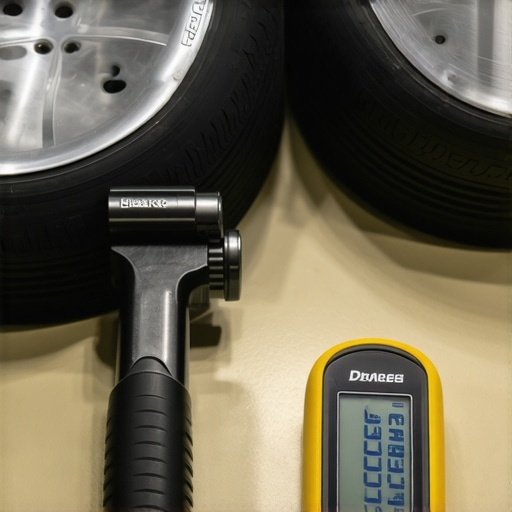
We are moving into an era where a wrench isn’t enough. To truly master auto repair in the 2020s, you need a bi-directional scan tool. This allows you to manually cycle the ABS pump to bleed air that traditional pumping just can’t reach. Looking at auto repair trends to watch in 2025, we are seeing more cars move toward ‘brake-by-wire’ systems where the pedal isn’t even physically connected to the master cylinder. In these cases, software is the only way to perform a safe pad swap. I predict that within five years, DIYers won’t be asking which socket set to buy, but which software subscription offers the best interface. Even if you still prefer the mechanical side, ignoring the electronics is the fastest way to trigger a permanent limp-mode error. Don’t be afraid of the data; it’s there to help you avoid brake service myths and get the job done right the first time.
The Truth About Service Intervals
I’ve seen a lot of debate regarding the truth about 10000-mile oil change intervals, and the same logic applies to your brakes. While a manufacturer might say your pads are ‘good’ for 50,000 miles, that doesn’t account for the regional salt or the stop-and-go traffic of a city like Charlotte. My advanced tip for today: every time you rotate your tires, take thirty seconds to spray the slider pins with a high-temp ceramic grease. This prevents the ‘seize’ that ruins an otherwise healthy brake system. Go out to your garage this weekend, pull one wheel, and just check the movement of that caliper. It’s the smallest habit that saves the biggest checks. If you find something that looks off and you aren’t sure of the next step, don’t hesitate to reach out via a contact us page to get a professional opinion before you drive.
What My $400 Rim Disaster Taught Me
Reflecting on that morning in my driveway, I realized that car service isn’t just about the big mechanical swaps; it’s about the chemistry and patience we apply to the small things. First, never underestimate the power of temperature. If the metal is hot, the chemicals become weapons against your clear coat. Second, expensive doesn’t always mean better, but ‘pH-neutral’ is a non-negotiable term for anyone understanding brake system repairs from a cosmetic perspective. Finally, if you hear a noise, don’t wait. I’ve seen auto repair bills triple because a driver ignored a simple squeak that eventually led to the only way to fix grinding brakes without replacing rotors—which is usually catching it early.
The Essential Gear Currently in My Tool Chest
I don’t believe in buying every gadget on the shelf, but three items have saved me more time and money than any others. I always keep a high-quality, pH-neutral iron remover on hand because it’s the only way to safely melt away brake dust without scrubbing the finish off. For mechanical work, my split-beam torque wrench is my most trusted partner; it ensures I never cause the vibration that makes people wonder why your car pulses every time you hit the brakes. Lastly, I highly recommend keeping a digital tread depth and brake pad gauge in your glovebox. It’s a low-tech way to stay on top of your maintenance and help determine how to tell if your wheel alignment is actually off by spotting uneven wear patterns before they become dangerous.
Take Control of Your Next Driveway Project
Properly maintaining your wheels and braking system is one of the most rewarding ways to perform a tune up at home. It’s a bridge between keeping your car looking like a showpiece and ensuring it stops on a dime when you need it most. Don’t let the technical jargon of a professional brake service intimidate you; start with a thorough wash, observe the hardware, and build your confidence one bolt at a time. The more you touch your own vehicle, the more you’ll understand its unique language. Have you ever struggled with stubborn brake dust that just wouldn’t budge? Let me know your cleaning tips or horror stories in the comments below!